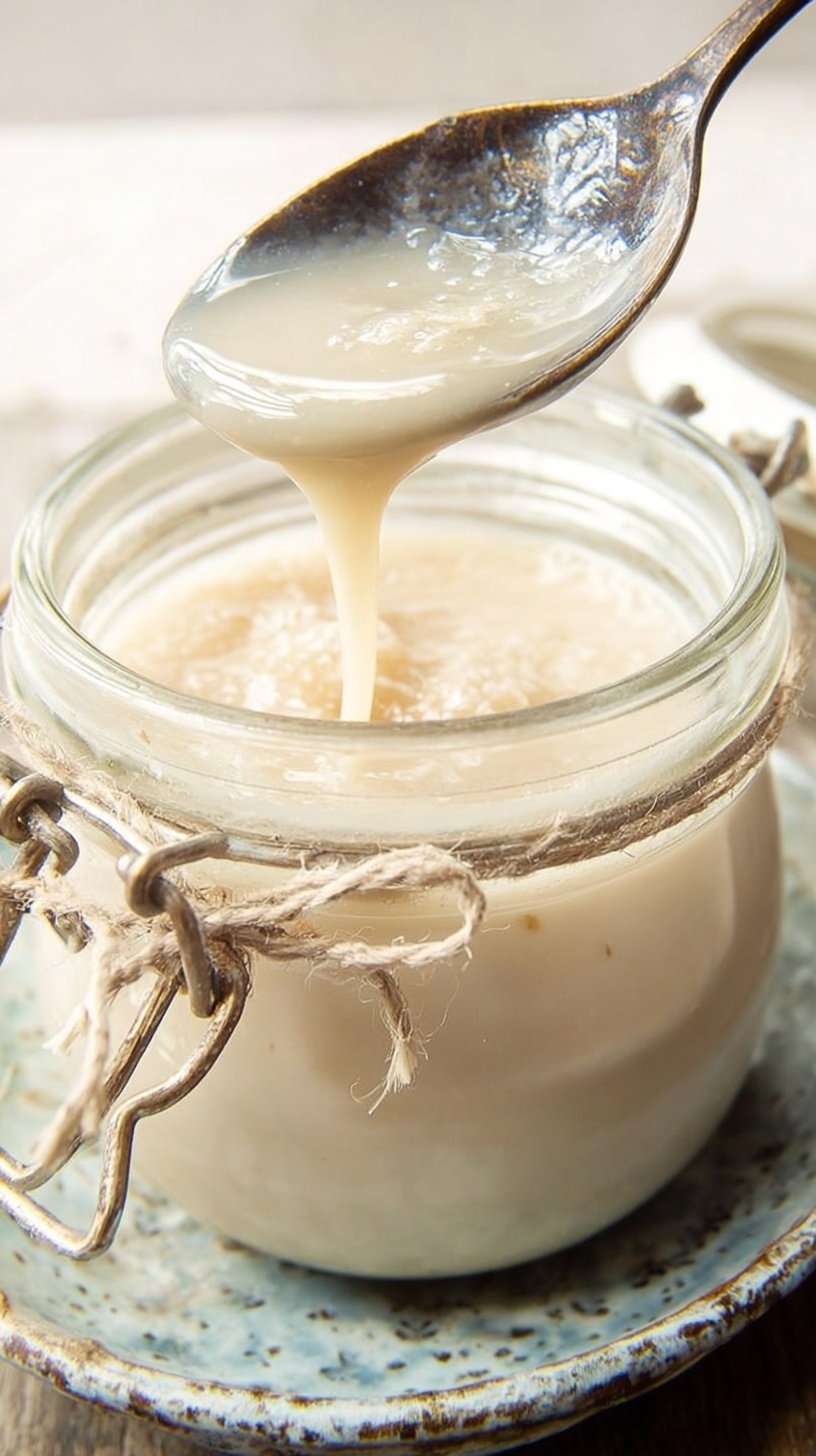
Sometimes you just need something creamy and sweet without the sugar crash. This sugar free condensed milk is the perfect solution for your pantry. It is thick, rich, and tastes just like the classic version. You can now enjoy your favorite desserts while staying healthy.
This recipe is a life-saver for anyone watching their sugar intake. It makes your holiday baking feel special and indulgent again. You will love how easy it is to whip up at home. No more searching for expensive specialty cans at the grocery store.
Why This Sugar Free Condensed Milk Works
This recipe is a winner because it makes baking so much easier. You only need five simple ingredients to get started. It is perfect for a healthy reset or keto lifestyle. Your family will never guess this version is sugar-free.
It brings a velvety texture to every treat you make. Making it yourself saves money on expensive specialty cans. It gives you total control over what goes into your food. This is the ultimate staple for your winter holiday baking.
How It Comes Together
Making this at home is surprisingly simple and stress-free. You just let the ingredients simmer on the stove for a bit. There is no need for fancy equipment or techniques. Even if you are a beginner, you can master this. The mixture thickens up perfectly as it cools down. You just need a little patience and a whisk. It feels so satisfying to see it transform into syrup.
Ingredients You’ll Need
These items are likely already in your kitchen or easy to find. Fresh heavy cream makes the best base for this recipe.
- 2 cups heavy cream
- 1/2 cup granulated allulose or erythritol sweetener
- 2 tablespoons unsalted butter
- 1/2 teaspoon vanilla extract
- 1/8 teaspoon fine sea salt
Step-by-Step
- In a heavy-bottomed saucepan, whisk together the heavy cream and granulated sweetener over medium heat.
- Bring the mixture to a gentle simmer while whisking continuously to ensure the sweetener is fully dissolved.
- Reduce the heat to low and simmer for 15 to 20 minutes, whisking occasionally, until the liquid has reduced by approximately 50 percent and coats the back of a spoon.
- Whisk in the unsalted butter until completely melted and emulsified into the cream mixture.
- Remove the saucepan from the heat and stir in the vanilla extract and sea salt.
- Allow the mixture to cool at room temperature for 30 minutes; the viscosity will increase significantly during cooling.
- Transfer the finished product to a glass jar and refrigerate for up to 2 weeks.
Best Ways to Enjoy It
Drizzle this over fresh berries for a quick summer snack. It is perfect for making fudge or keto-friendly holiday pies. Add a spoonful to your coffee for a luxurious morning treat. Pack it into small jars for a sweet homemade gift. It also works great as a dip for apple slices. Your kids will love dipping fruit into this creamy sauce.
Keep It Fresh
Store your milk in a glass jar in the fridge. It stays fresh and delicious for up to two weeks. If it gets too thick, just warm it slightly. Reheat gently on the stove to bring back the pourable texture. This is a great make-ahead staple for busy weeks. Always use a clean spoon to keep the jar fresh.
Recipe Tips
- Don’t skip the salt because it balances the sweetness.
- Use a heavy-bottomed pan to prevent any scorching on the bottom.
- Swap the vanilla for almond extract for a nutty flavor profile.
- Make this ahead of time to save stress during busy holidays.
- For Thanksgiving, double the batch for all your different pies.
- Whisk constantly at the start to dissolve the sweetener fully.
- Avoid boiling too hard or the cream might separate or grain.
- Use allulose if you want the smoothest, most syrup-like consistency.
Ways to Switch It Up
- Add a pinch of sea salt for a salted caramel vibe.
- Use coconut cream for a dairy-free and vegan alternative.
- Stir in a little cocoa powder for chocolate condensed milk.
- Add pumpkin pie spice for a festive fall flavor swap.
Common Questions
Can I make it ahead?
Yes, it stores beautifully in the fridge for two weeks. It actually gets thicker and better after a night of chilling. This makes it perfect for meal prep.
Which sweetener is best?
Allulose provides the smoothest texture without any cooling aftertaste. Erythritol works too but may crystallize slightly when cold. Both are great for staying low-carb.
Will kids eat this?
Absolutely, it tastes just like the traditional canned version. They will love it on pancakes or stirred into oatmeal. It is a great way to reduce their sugar.
I hope this creamy staple makes your healthy baking feel like a breeze. It is such a simple way to bring sweetness back to your table. Happy cooking!
— Alex

Ingredients
- 2 cups heavy cream
- 1/2 cup granulated allulose or erythritol sweetener
- 2 tablespoons unsalted butter
- 1/2 teaspoon vanilla extract
- 1/8 teaspoon fine sea salt
Instructions
- In a heavy-bottomed saucepan, whisk together the heavy cream and granulated sweetener over medium heat.
- Bring the mixture to a gentle simmer while whisking continuously to ensure the sweetener is fully dissolved.
- Reduce the heat to low and simmer for 15 to 20 minutes, whisking occasionally, until the liquid has reduced by approximately 50 percent and coats the back of a spoon.
- Whisk in the unsalted butter until completely melted and emulsified into the cream mixture.
- Remove the saucepan from the heat and stir in the vanilla extract and sea salt.
- Allow the mixture to cool at room temperature for 30 minutes; the viscosity will increase significantly during cooling.
- Transfer the finished product to a glass jar and refrigerate for up to 2 weeks.