There is nothing like the sound of a perfect crunch on a crispy autumn evening. Whether you are hosting a football party or a fun family night, wings are always the answer. You want that deep-fried texture without the messy oil splatter in your kitchen.
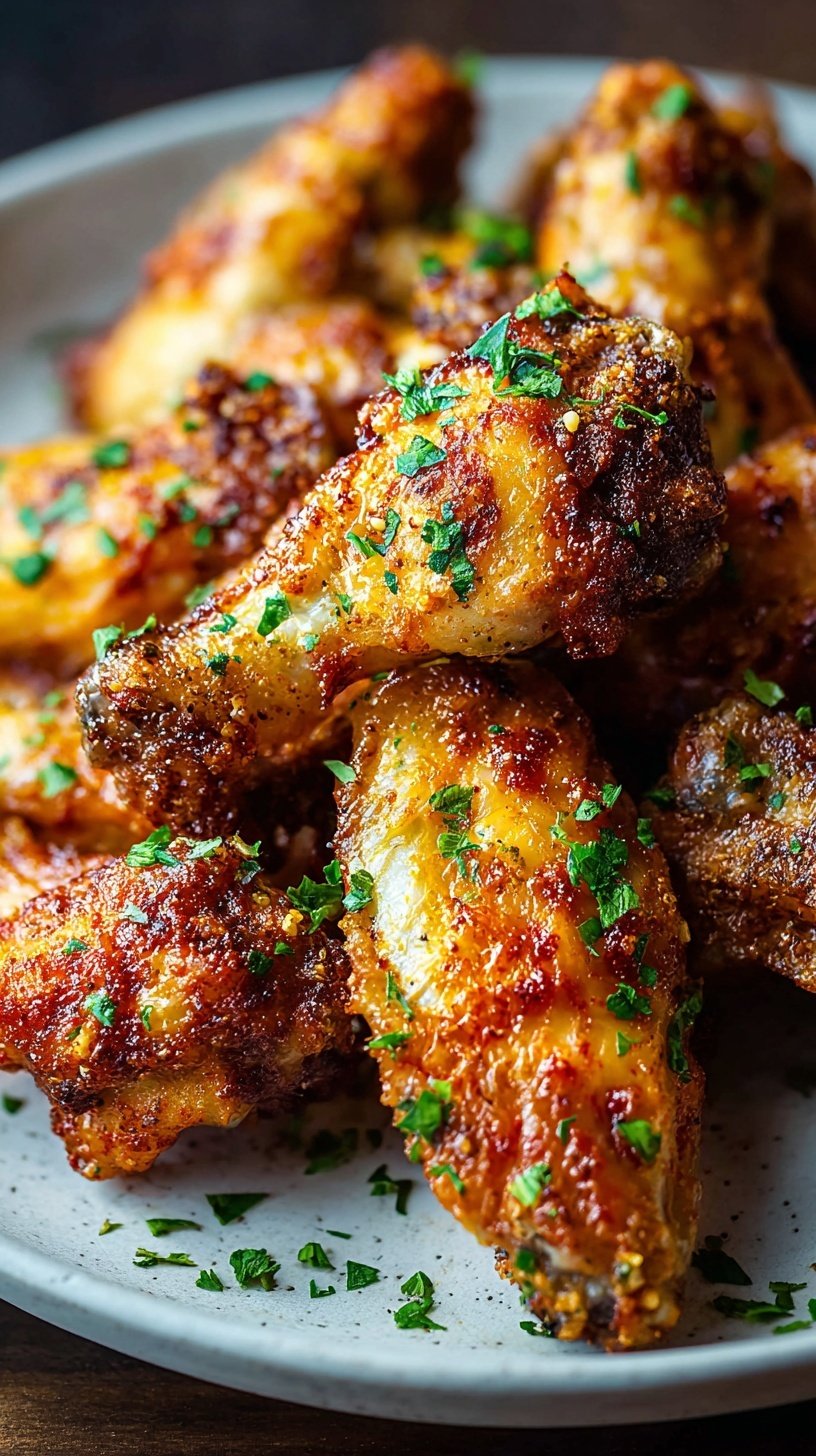
These crispy oven baked wings deliver everything you crave. They are tender on the inside and remarkably crunchy on the outside. You will love how simple they are to prep and enjoy. Let’s get cooking so you can share these with the people you love!
Why This Recipe Is a Winner
This recipe is a total game-changer for busy fall weekends. You get all the flavor of a restaurant wing right at home. It is budget-friendly and uses simple pantry staples you likely already have.
Your family will love the satisfying crunch in every single bite. Since we bake them, the cleanup is a breeze compared to frying. It is the perfect way to feed a hungry crowd without the stress. This will quickly become your new favorite way to make wings.
Simple Method
Making these wings is much easier than you might think. The secret lies in one special pantry ingredient that changes everything. Even if you are a beginner, you can master this technique today. You just need to follow a few simple steps for success.
We use high heat to get that golden brown finish you love. There is no need for a deep fryer or gallons of oil. Just prep, toss, and let your oven do the hard work. You will be amazed at how professional these results look and taste.
What You Need
Most of these items are already waiting in your kitchen. We focus on simple produce and spices for the best flavor.
- 2 lbs chicken wings, split into flats and drumettes
- 1 tbsp aluminum-free baking powder
- 1 tsp kosher salt
- 1/2 tsp black pepper
- 1/2 tsp garlic powder
- 1/2 tsp smoked paprika
Step-by-Step
- Preheat oven to 425°F (218°C). Line a large rimmed baking sheet with aluminum foil.
- Place a wire cooling rack inside the baking sheet. This allows hot air to circulate under the wings.
- Pat the chicken wings thoroughly with paper towels. Ensure the skin is completely dry for the best crunch.
- Grab a large mixing bowl. Whisk the baking powder, salt, and pepper together. Add the garlic powder and paprika.
- Add the wings to the bowl. Toss them vigorously. Make sure the powder coats every single piece.
- Place wings on the wire rack. Keep them in a single layer. Do not let them touch for better airflow.
- Bake for 45 to 50 minutes. Rotate the tray halfway through. Cook until the skin is golden and crispy.
- Remove the wings from the oven. Let them rest for 5 minutes. Serve them plain or toss in sauce.
Best Ways to Enjoy It
Serve these wings warm on a big platter for your friends. They look beautiful next to fresh celery and carrot sticks. You can offer a variety of dipping sauces on the side. Ranch or blue cheese are classic choices that everyone loves.
Set the table with plenty of napkins for a fun game day. These are perfect for a potluck or a casual backyard gathering. Pair them with a cold drink and your favorite dipping sauce. Your guests will definitely ask you for this recipe!
Keep It Fresh
If you have leftovers, you can store them in the fridge. Use an airtight container to keep them fresh for three days. To get the crunch back, avoid using the microwave. Reheat them in a 350°F oven for about ten minutes.
You can also freeze these wings for a future meal. Just thaw them in the fridge before you reheat them. This makes them a great option for meal prep or quick snacks. They will taste just as good the second time around!
Tips for Best Results
- Never skip drying the wings with paper towels before seasoning.
- Always use aluminum-free baking powder to avoid a metallic taste.
- Do not crowd the baking sheet to ensure maximum crispiness.
- Use a wire rack to let heat reach the bottom of the wings.
- For a big holiday crowd, double the batch and use two pans.
- Let the wings rest before tossing them in any wet sauces.
- Check the internal temperature to ensure they reach 165°F.
Make It Your Own
- Swap the paprika for chili powder if you want more heat.
- Toss the finished wings in buffalo sauce for a classic spicy kick.
- Use lemon pepper seasoning instead of paprika for a bright flavor.
- Sprinkle with fresh parsley just before serving for a pop of color.
- Try a honey garlic glaze for a sweet and savory variation.
Common Questions
Why do you use baking powder?
Baking powder changes the pH level of the chicken skin. This helps it break down and become thin and crispy. It creates tiny bubbles that mimic the texture of fried chicken.
Can I use frozen wings?
Yes, you can use frozen wings for this recipe. However, you must thaw them completely first. Make sure to pat them extra dry to remove all moisture.
Will my kids enjoy these?
Kids absolutely love these wings because they are so crunchy. You can keep the seasoning mild to suit picky eaters. They are a fun, hands-on meal for the whole family.
I hope these crispy wings bring a little extra joy to your next gathering. There is nothing better than sharing a delicious, home-cooked snack with friends. Happy cooking and enjoy every crunchy bite!
— Lidia

Ingredients
- 2 lbs chicken wings, split into flats and drumettes
- 1 tbsp aluminum -free baking powder
- 1 tsp kosher salt
- 1/2 tsp black pepper
- 1/2 tsp garlic powder
- 1/2 tsp smoked paprika
Instructions
- Preheat oven to 425°F (218°C) and line a large rimmed baking sheet with aluminum foil.
- Place a wire cooling rack inside the baking sheet to allow hot air to circulate under the wings.
- Pat the chicken wings thoroughly with paper towels until the skin is completely dry.
- In a large mixing bowl, whisk together the baking powder, salt, black pepper, garlic powder, and smoked paprika.
- Add the wings to the bowl and toss vigorously until each piece is evenly coated with the powder mixture.
- Arrange the wings on the wire rack in a single layer, ensuring they are not touching for optimal airflow.
- Bake for 45 to 50 minutes, rotating the tray halfway through, until the skin is golden brown and crispy.
- Remove from the oven and let rest for 5 minutes before serving or tossing in sauce.