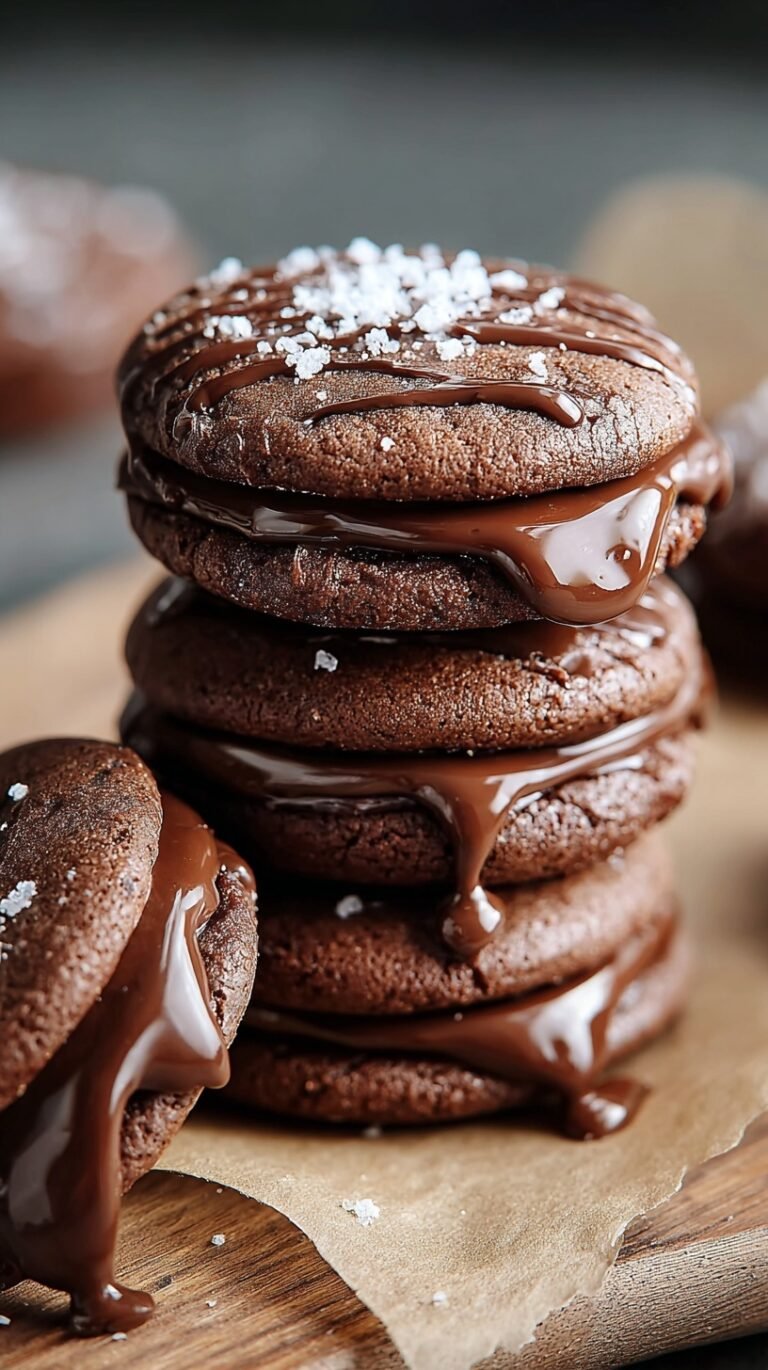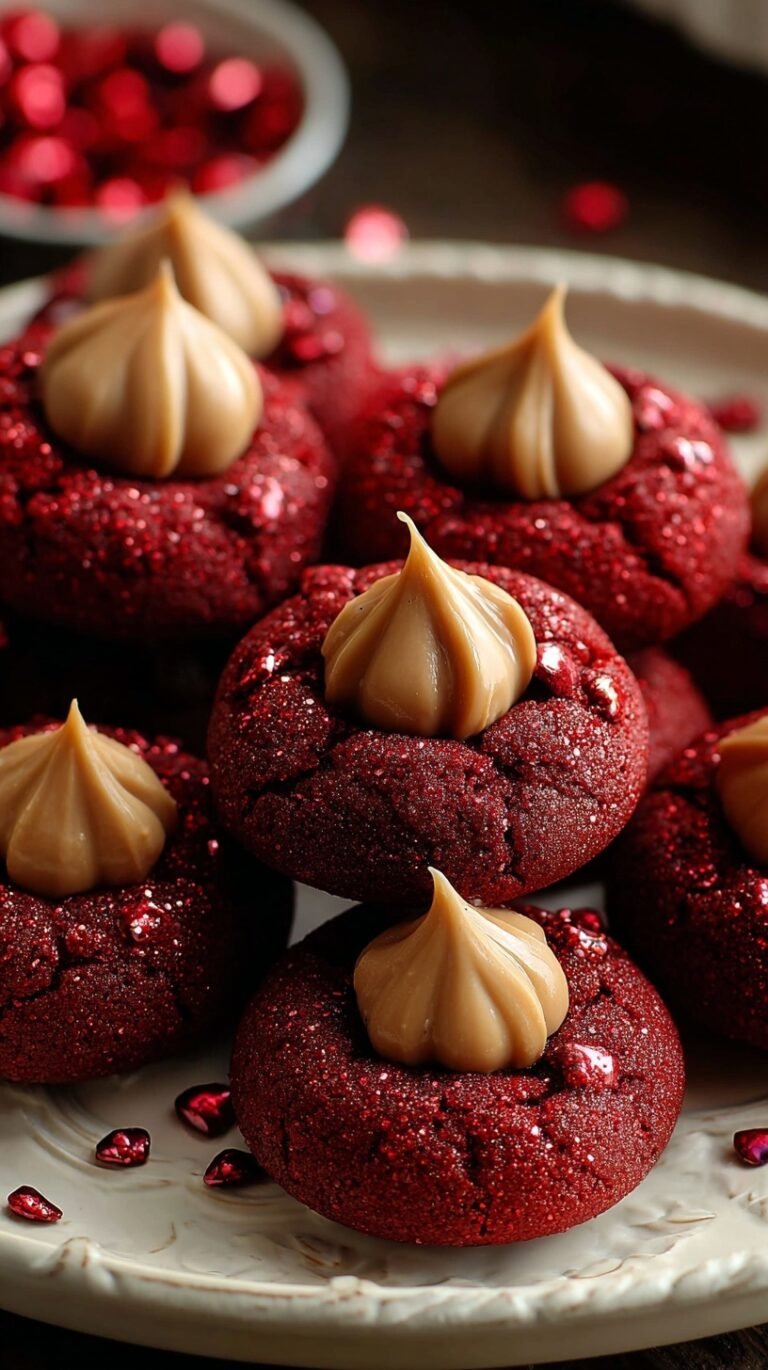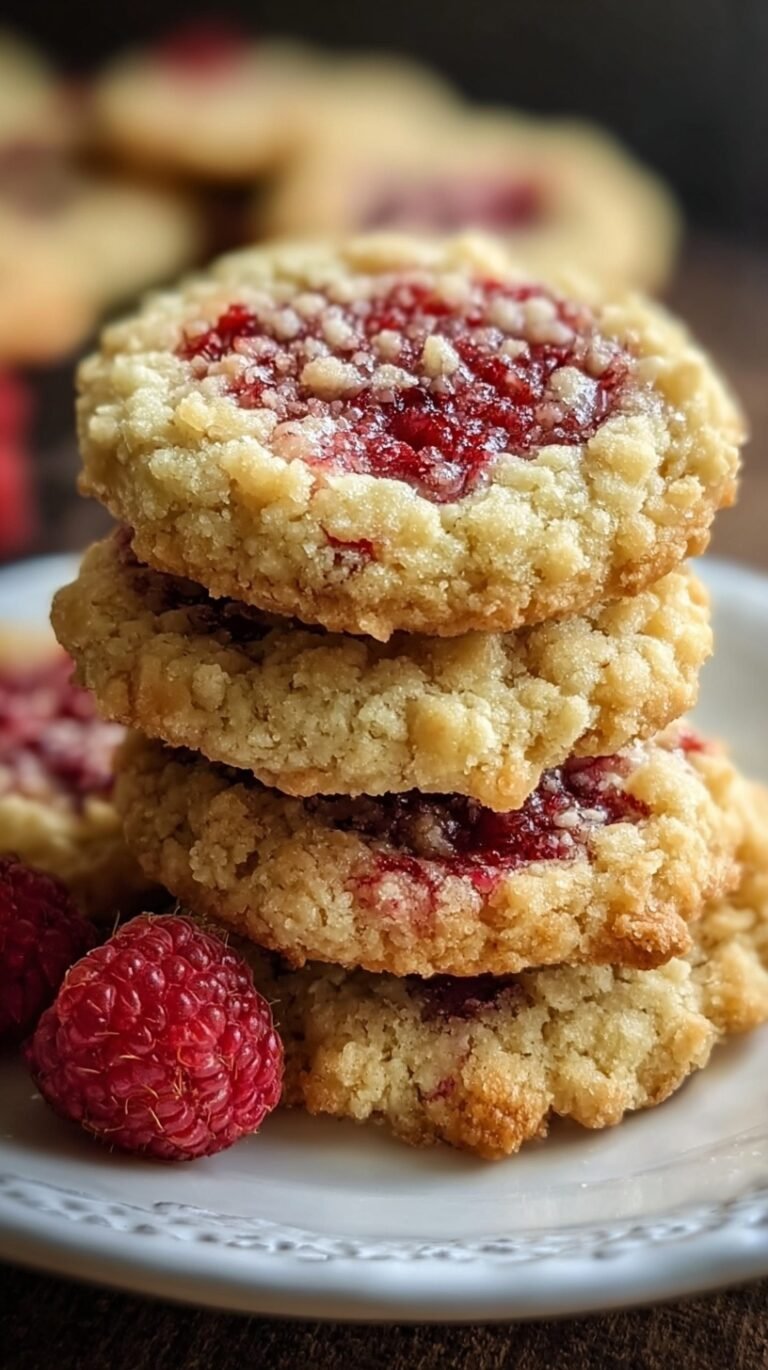
Valentine’s Day is just around the corner. You want a treat that says “I love you” without the stress. These Red Velvet Whoopie Pies are the perfect answer for a cozy holiday. They are soft, festive, and so easy to share with your favorite people.
There is something so special about the bright red color and creamy filling. This recipe delivers a soft, cocoa-flavored cake that feels like a hug. It is a wonderful way to bring a little extra sweetness to your winter afternoon. Let’s get baking together!
Why This Recipe Is a Winner
This recipe is a holiday favorite for several reasons. It turns a classic cake into a fun, handheld snack. Your family will love the vibrant red color on the plate. It is much easier than baking and frosting a whole layer cake.
The tangy cream cheese frosting balances the sweet cocoa perfectly. These pies are also very sturdy for little hands to hold. They are perfect for school parties or a quiet night in. You get professional results with simple, everyday ingredients.
Easy Cooking Steps
Making these treats is very straightforward and rewarding. You just mix your batter and scoop it onto the pan. Using a cookie scoop helps keep every pie the same size. Even if you are new to baking, you can master this method.
The cakes bake quickly in just about twelve minutes. Your kitchen will smell like warm vanilla and cocoa. Once they cool, the creamy filling comes together in minutes. You will feel like a pro when you press the halves together.
Ingredients You’ll Need
These treats use mostly pantry staples you likely have on hand. Fresh buttermilk and cream cheese make all the difference here.
- 2 cups all-purpose flour
- 2 tablespoons unsweetened cocoa powder
- 1/2 teaspoon baking soda
- 1/4 teaspoon salt
- 1/2 cup unsalted butter, softened to 65 degrees F
- 1 cup light brown sugar, packed
- 1 large egg, room temperature
- 1 teaspoon vanilla extract
- 1/2 cup buttermilk, room temperature
- 1 tablespoon liquid red food coloring
- 1 teaspoon distilled white vinegar
- 8 ounces cream cheese, softened
- 1/4 cup unsalted butter, softened for frosting
- 2 cups powdered sugar, sifted
- 1 teaspoon vanilla extract for frosting
Step-by-Step Directions
- Preheat convection oven to 350 degrees F (175 degrees C) and line two heavy-gauge baking sheets with silicone mats or parchment paper.
- Sift together the all-purpose flour, cocoa powder, baking soda, and salt into a medium mixing bowl to ensure even aeration.
- In a stand mixer fitted with the paddle attachment, cream 1/2 cup butter and brown sugar on medium-high speed for 3 minutes until the matrix is light and aerated.
- Incorporate the egg, 1 teaspoon vanilla, and red food coloring into the creamed mixture, scraping the sides of the bowl to ensure homogeneity.
- Reduce mixer speed to low and add the dry ingredients in three parts, alternating with the buttermilk and vinegar, beginning and ending with the dry ingredients.
- Using a #40 scoop, portion the batter into 24 uniform rounds on the prepared sheets, maintaining 2 inches of clearance between each portion.
- Bake for 10 to 12 minutes until the internal temperature reaches approximately 200 degrees F or the surface springs back upon light digital pressure.
- Transfer cakes to a wire cooling rack and allow to reach ambient temperature (approximately 20 minutes) before frosting.
- To prepare the filling, cream the 8 ounces of cream cheese and 1/4 cup butter until smooth, then emulsify with powdered sugar and remaining vanilla until high-peak consistency is achieved.
- Pipe approximately 2 tablespoons of frosting onto the flat side of 12 cakes, then top with the remaining 12 cakes, pressing lightly to secure the bond.
Best Ways to Enjoy It
Place these on a pretty white platter to make the red pop. They look beautiful next to a bowl of fresh strawberries. Serve them with a cold glass of milk for the kids. For a romantic touch, wrap them in clear bags with pink ribbons.
These are wonderful for a Valentine’s Day picnic on the floor. You can also pack them into a heart-shaped box for a gift. They are best enjoyed at room temperature for the softest bite. Your loved ones will feel so special with these homemade treats.
Keep It Fresh
Store your whoopie pies in an airtight container in the fridge. The cream cheese filling stays fresh and safe that way. They will keep their perfect texture for up to four days. If you want to make them ahead, bake the cakes early. Just fill them on the day you plan to serve. Let them sit at room temperature for ten minutes before eating.
Tips for Best Results
- Don’t skip sifting the cocoa powder to avoid lumps.
- Use room temperature ingredients for a perfectly smooth batter.
- Wait until cakes are completely cool before adding the frosting.
- A cookie scoop ensures your pies are all the same size.
- Add heart-shaped sprinkles to the edges for extra festive flair.
- Scrape the bottom of the bowl to mix the color evenly.
- Store with parchment paper between layers to prevent sticking.
Ways to Switch It Up
- Roll the edges in mini chocolate chips for extra crunch.
- Swap the vanilla in the frosting for peppermint for a winter twist.
- Use a heart-shaped cookie cutter on the baked cakes for romance.
- Add a pinch of cinnamon to the batter for a warm flavor.
Common Questions
Can I make these Red Velvet Whoopie Pies ahead of time?
Yes, you can bake the cakes a day in advance. Keep them in a sealed container until you are ready to frost. This makes your holiday morning much more relaxed.
What if I don’t have buttermilk?
You can make a quick substitute at home easily. Mix a half cup of milk with one teaspoon of lemon juice. Let it sit for five minutes before using in the batter.
How do I know when the cakes are finished baking?
The tops should feel firm and spring back when touched lightly. You can also use a thermometer to check for 200 degrees F. Avoid overbaking so they stay soft and tender.
I hope these little red treats bring a big smile to your family this Valentine’s Day. There is nothing like a homemade gift to show how much you care. Happy baking and enjoy every sweet bite!
— Lidia

Ingredients
- 2 cups all -purpose flour
- 2 tablespoons unsweetened cocoa powder
- 1/2 teaspoon baking soda
- 1/4 teaspoon sal t
- 1/2 cup unsalted butter, softened to 65 degrees F
- 1 cup light brown sugar, packed
- 1 large egg , room temperature
- 1 teaspoon vanilla extract
- 1/2 cup buttermilk , room temperature
- 1 tablespoon liquid red food coloring
- 1 teaspoon distilled white vinegar
- 8 ounces cream cheese, softened
- 1/4 cup unsalted butter, softened for frosting
- 2 cups powdered sugar, sifted
- 1 teaspoon vanilla extract for frosting
Instructions
- Preheat convection oven to 350 degrees F (175 degrees C) and line two heavy-gauge baking sheets with silicone mats or parchment paper.
- Sift together the all-purpose flour, cocoa powder, baking soda, and salt into a medium mixing bowl to ensure even aeration.
- In a stand mixer fitted with the paddle attachment, cream 1/2 cup butter and brown sugar on medium-high speed for 3 minutes until the matrix is light and aerated.
- Incorporate the egg, 1 teaspoon vanilla, and red food coloring into the creamed mixture, scraping the sides of the bowl to ensure homogeneity.
- Reduce mixer speed to low and add the dry ingredients in three parts, alternating with the buttermilk and vinegar, beginning and ending with the dry ingredients.
- Using a #40 scoop, portion the batter into 24 uniform rounds on the prepared sheets, maintaining 2 inches of clearance between each portion.
- Bake for 10 to 12 minutes until the internal temperature reaches approximately 200 degrees F or the surface springs back upon light digital pressure.
- Transfer cakes to a wire cooling rack and allow to reach ambient temperature (approximately 20 minutes) before frosting.
- To prepare the filling, cream the 8 ounces of cream cheese and 1/4 cup butter until smooth, then emulsify with powdered sugar and remaining vanilla until high-peak consistency is achieved.
- Pipe approximately 2 tablespoons of frosting onto the flat side of 12 cakes, then top with the remaining 12 cakes, pressing lightly to secure the bond.