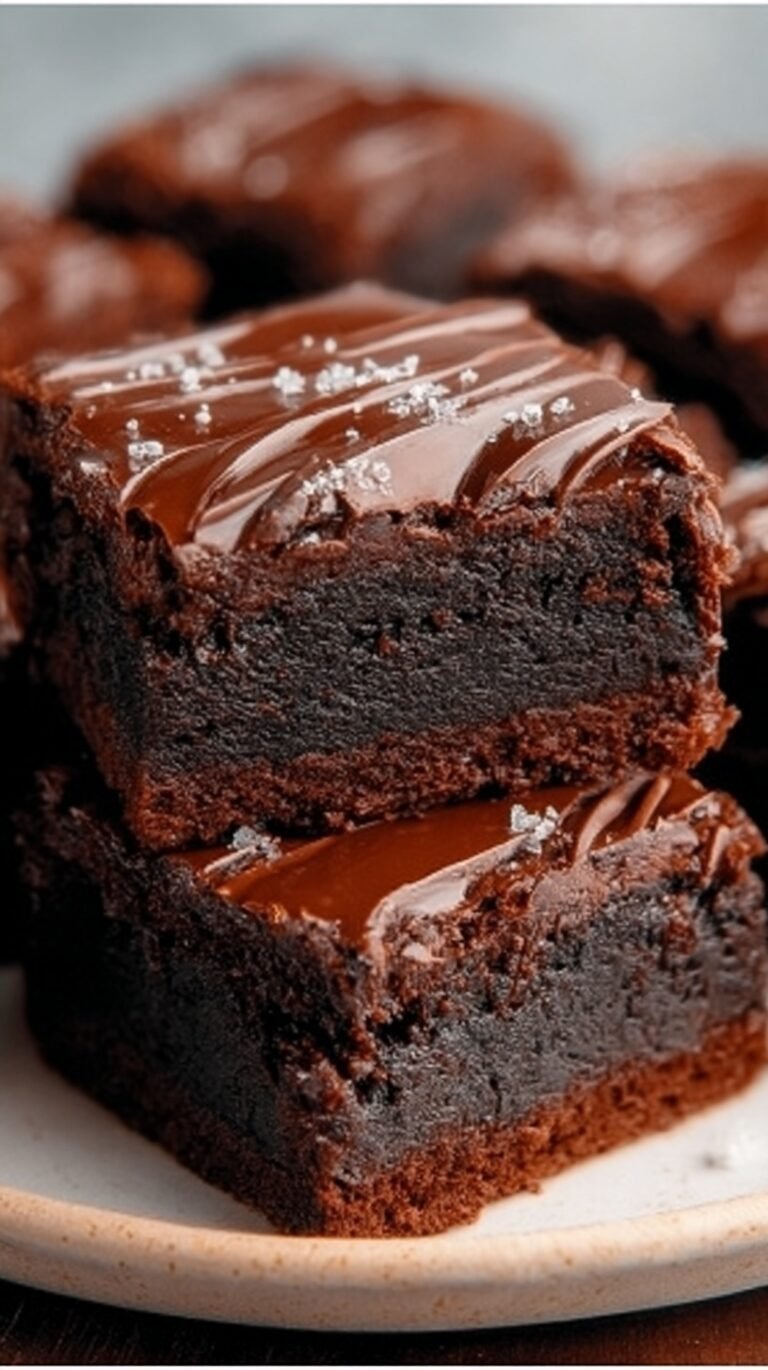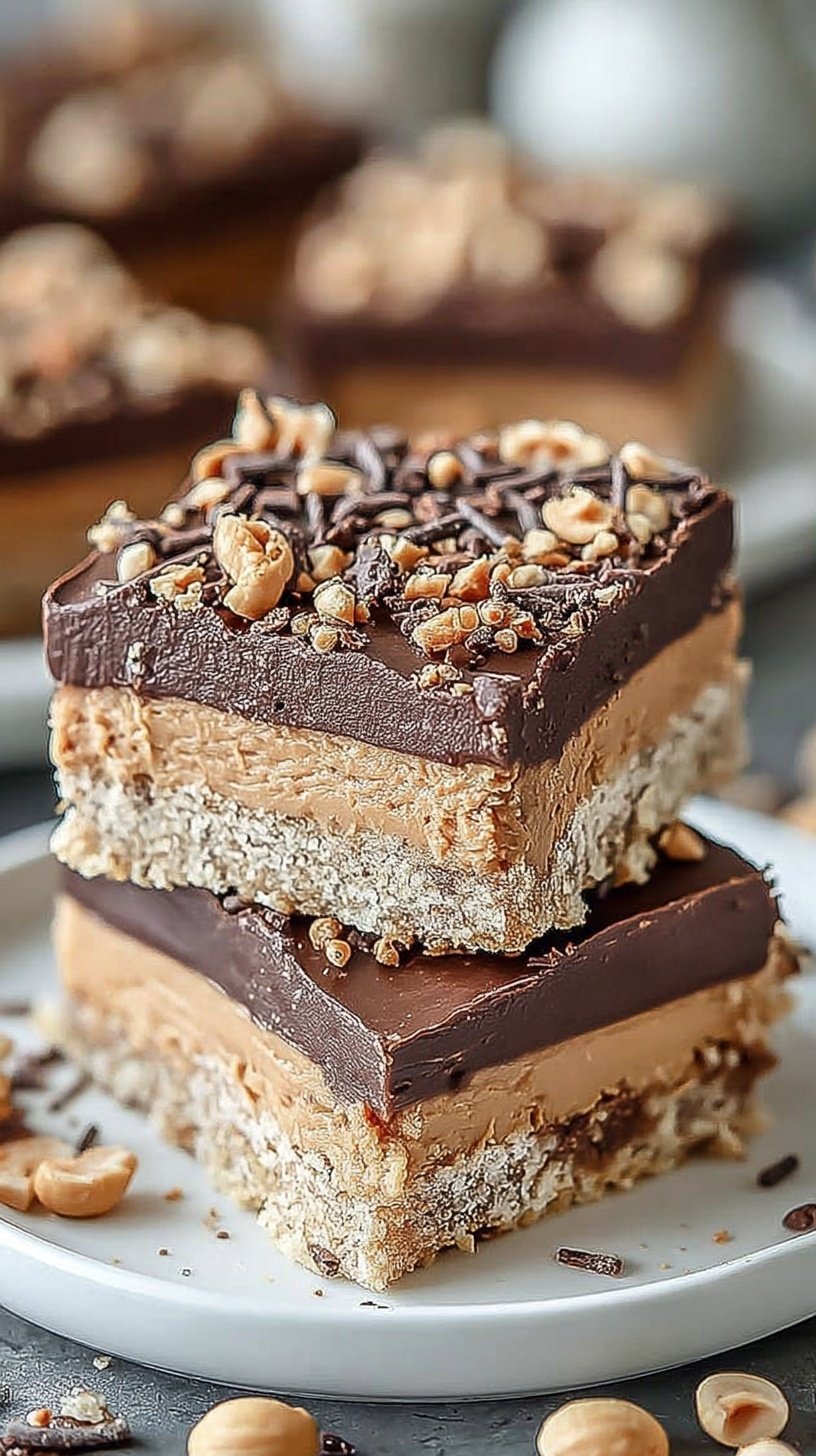
Sometimes you just need a sweet treat that feels like a vacation. These Disneyland Peanut Butter Sandwich Bars bring that park magic right to your kitchen. You do not need a plane ticket to enjoy this creamy, chocolatey snack. It is the ultimate treat for Disney fans and peanut butter lovers alike.
This recipe is a total lifesaver when you want something impressive but simple. You can whip these up without ever turning on your oven. They are thick, rich, and perfectly balanced for your next family movie night. Everyone will think you spent hours in a professional bakery.
Why This Recipe Is a Winner
This recipe is a winner because it requires zero oven time. It is perfect for hot summer days when you want a cool dessert. The layers are thick, rich, and stay firm in the fridge. Your kids will love helping you press the crust into the pan. It tastes exactly like the famous treats found on Main Street.
You only need a few basic pantry staples to get started. These bars are great for budget-friendly entertaining because they feed a crowd. The combination of salty peanut butter and sweet chocolate never goes out of style. You will find yourself making these for every birthday and potluck.
Simple Method
Making these bars is incredibly simple and stress-free. You will build three delicious layers starting with a buttery graham cracker base. A quick trip to the microwave makes the peanut butter easy to spread. Even beginner cooks can master this recipe on the first try. Just follow the steps and let your fridge do the hard work.
Ingredients You’ll Need
These bars use simple ingredients you likely already have in your cupboard.
- 2 cups graham cracker crumbs
- 1 cup unsalted butter, melted
- 1.5 cups powdered sugar
- 1.5 cups creamy peanut butter, divided
- 2 cups semi-sweet chocolate chips
- 1 tablespoon vegetable oil
Step-by-Step
- Line an 8×8 inch square baking pan with parchment paper.
- In a large bowl, mix the graham cracker crumbs, melted butter, and powdered sugar until a sandy dough forms.
- Press the crumb mixture firmly into the bottom of the prepared pan in an even layer.
- Heat 1 cup of peanut butter in the microwave for 30 seconds until spreadable, then pour it over the crust and smooth with a spatula.
- Refrigerate the pan for 30 minutes to allow the peanut butter layer to set.
- In a microwave-safe bowl, combine the chocolate chips, the remaining 1/2 cup of peanut butter, and the vegetable oil.
- Microwave the chocolate mixture in 30-second intervals, stirring until completely smooth.
- Pour the chocolate mixture over the chilled peanut butter layer and spread evenly.
- Refrigerate for at least 2 hours until firm.
- Lift from the pan using the parchment paper and cut into bars.
Best Ways to Enjoy It
Serve these bars chilled for the best texture and flavor. They pair perfectly with a tall glass of cold milk. You can slice them into small bite-sized squares for a party. They are a hit at any family gathering or weekend movie night. Set them out on a pretty platter and watch them disappear.
Storage & Reheating
Keep your leftovers in an airtight container in the refrigerator. They will stay fresh and delicious for up to one week. You can also freeze these bars for a long-term treat. Just wrap them individually in plastic wrap before freezing. Thaw them for a few minutes on the counter before eating. They are the perfect make-ahead dessert for busy weeks.
Tips for Best Results
- Use parchment paper so you can lift the bars out easily.
- Don’t skip the chilling time or the layers might mix together.
- Avoid natural peanut butter as it can be too oily for this recipe.
- Make these a day ahead to let the flavors fully meld.
- For a holiday twist, sprinkle a little sea salt on top.
- Use a heavy glass to press the crust down firmly and evenly.
- Dip your knife in warm water for perfectly clean slices.
Ways to Switch It Up
- Swap semi-sweet chips for dark chocolate for a richer taste.
- Use gluten-free graham crackers to make this a gluten-free dessert.
- Add a handful of chopped peanuts for a bit of extra crunch.
- Try sunflower seed butter for a delicious nut-free alternative.
Common Questions
Can I make these ahead of time?
Yes, these are perfect for making a day in advance. The flavors actually improve as they sit in the fridge. Just keep them covered so they stay fresh.
What if my chocolate layer cracks when cutting?
Let the bars sit at room temperature for ten minutes before slicing. A warm knife will also help glide through the chocolate smoothly. This ensures your Disneyland Peanut Butter Sandwich Bars look professional.
Will kids actually eat these?
These are a massive hit with picky eaters and children. The familiar flavors of peanut butter and chocolate are always a win. They are much better than store-bought pre-packaged snacks.
I hope these sweet bars bring a little extra joy to your home this week. They are so simple to make and even better to share with the people you love. Happy snacking!
— Alex

Ingredients
- 2 cups graham cracker crumbs
- 1 cup unsalted butter, melted
- 1.5 cups powdered sugar
- 1.5 cups creamy peanut butter, divided
- 2 cups semi -sweet chocolate chips
- 1 tablespoon vegetable oil
Instructions
- Line an 8x8 inch square baking pan with parchment paper.
- In a large bowl, mix the graham cracker crumbs, melted butter, and powdered sugar until a sandy dough forms.
- Press the crumb mixture firmly into the bottom of the prepared pan in an even layer.
- Heat 1 cup of peanut butter in the microwave for 30 seconds until spreadable, then pour it over the crust and smooth with a spatula.
- Refrigerate the pan for 30 minutes to allow the peanut butter layer to set.
- In a microwave-safe bowl, combine the chocolate chips, the remaining 1/2 cup of peanut butter, and the vegetable oil.
- Microwave the chocolate mixture in 30-second intervals, stirring until completely smooth.
- Pour the chocolate mixture over the chilled peanut butter layer and spread evenly.
- Refrigerate for at least 2 hours until firm.
- Lift from the pan using the parchment paper and cut into bars.