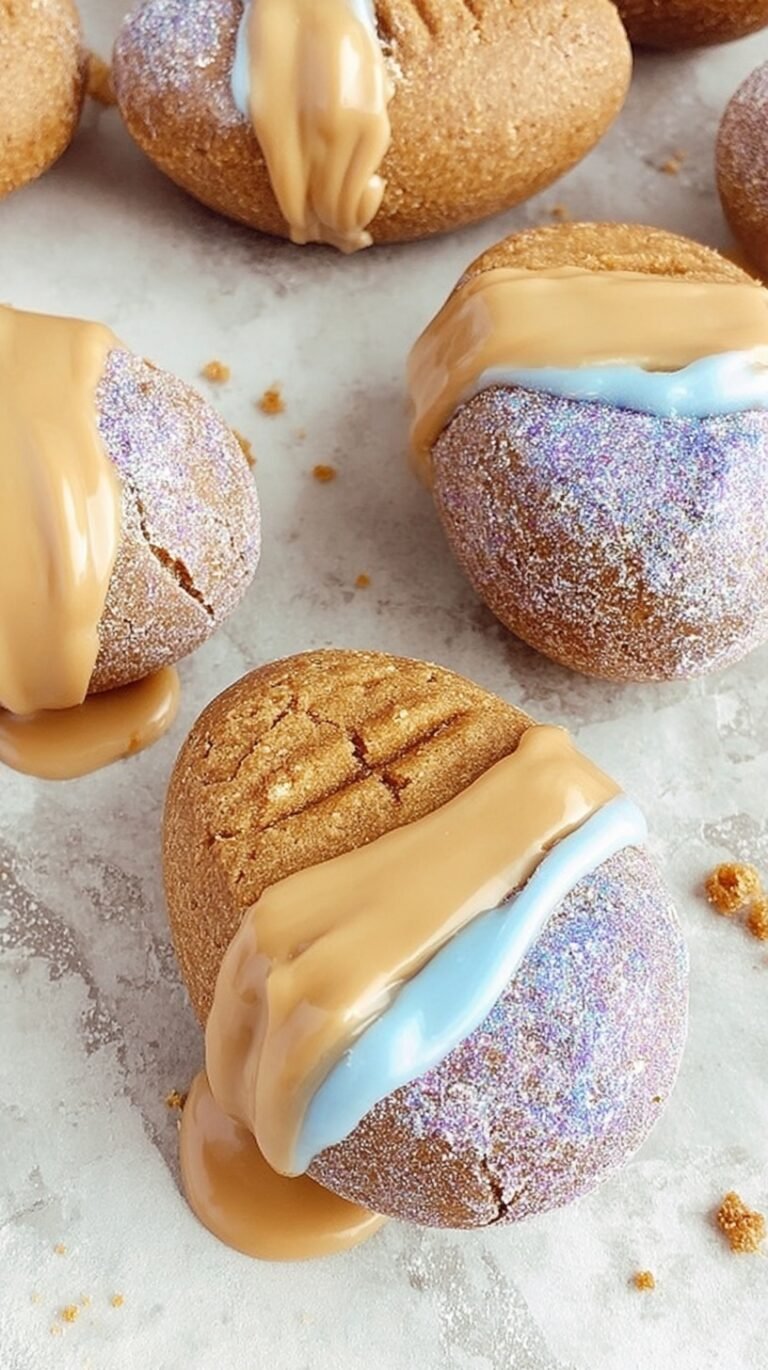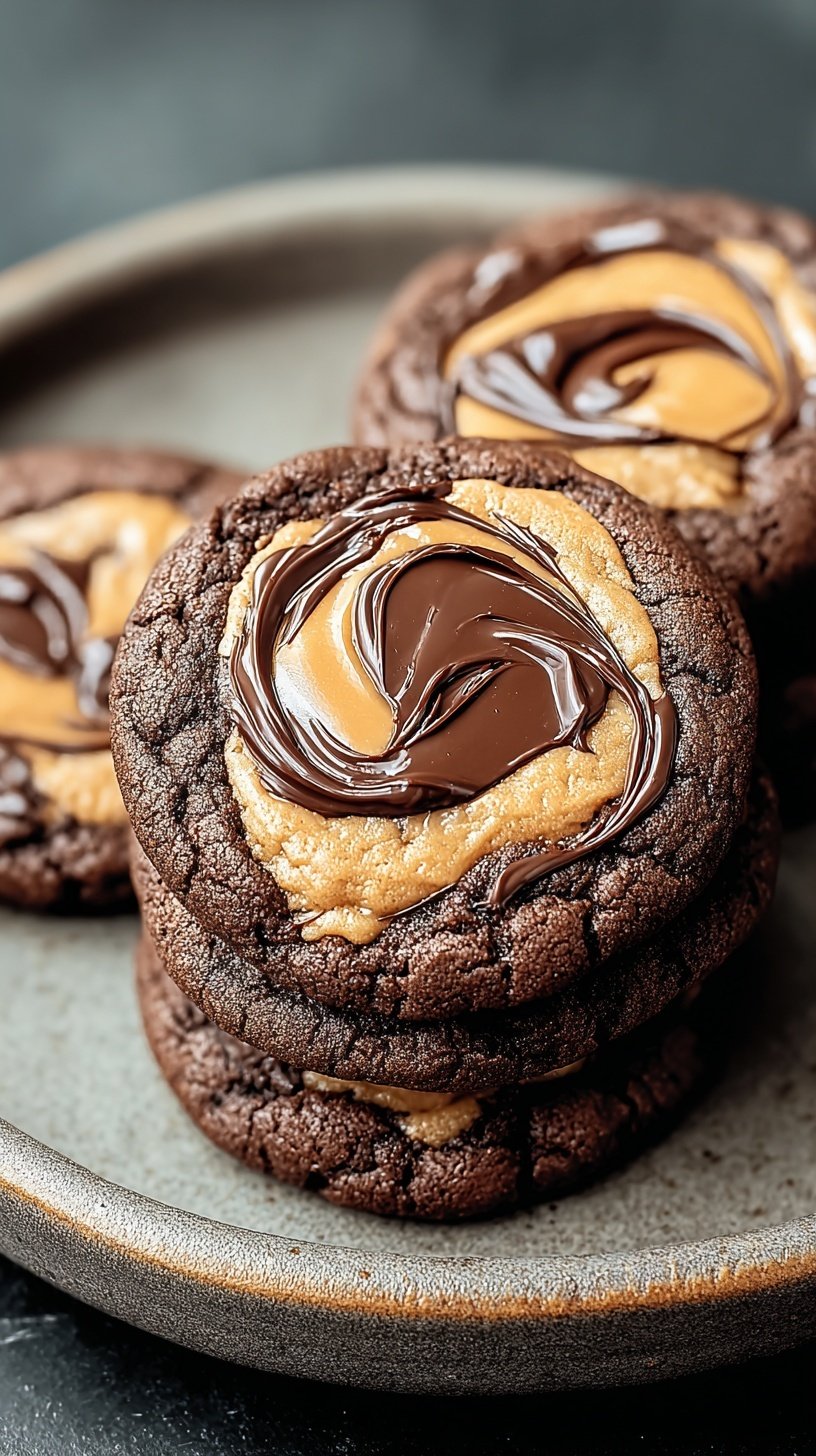
Sometimes you just need something sweet and salty to end your day. These chocolate peanut butter swirl cookies are the ultimate treat for any afternoon. They deliver a soft, chewy bite that everyone in your house will love. It is a great way to brighten up a busy school week. You can have these ready and on the table in no time.
The beautiful marbled pattern looks like it came from a fancy professional bakery. Luckily, you can make them right in your own cozy kitchen today. This recipe is simple enough for even the newest bakers to try. Your family will be so impressed by the gorgeous swirled design in every cookie.
Why This Recipe Is a Winner
These cookies are perfect for those busy back-to-school weeks in the fall. You get the best of two classic flavors in every single bite. The marbled look makes them feel very special for any occasion. They are a total crowd-pleaser at every neighborhood potluck or party. Your kitchen will smell like warm cocoa and roasted peanuts while they bake.
It is the ultimate way to welcome the cooler weather with a treat. This recipe uses simple ingredients you likely already have in your pantry. You won’t need to make a special trip to the grocery store today. It is a budget-friendly dessert that feels like a luxury. Every member of the family will reach for a second one quickly.
Simple Method
You start with one easy base dough that comes together very quickly. Simply divide it in half to create your two distinct cookie flavors. One side gets rich cocoa and the other gets creamy peanut butter. Swirling them together is a fun activity for the whole family to do. Even beginners will find this method very easy to master today.
You do not need any fancy tools to get that beautiful marble effect. Just a gentle twist of the dough is all it really takes. This shortcut saves you so much time in the kitchen. You can focus on enjoying the process and the sweet, chocolatey aroma. Baking should be a relaxing part of your day after work.
Simple Ingredients
These ingredients are staples that make baking feel so much more doable. You probably have the flour, sugar, and butter ready to go right now.
- 1 cup unsalted butter, softened to 18°C
- 1 cup granulated white sugar
- 1 cup light brown sugar, firmly packed
- 2 large eggs, room temperature
- 1 teaspoon pure vanilla extract
- 2.5 cups all-purpose flour
- 1 teaspoon baking soda
- 0.5 teaspoon fine sea salt
- 0.5 cup unsweetened Dutch-process cocoa powder
- 0.5 cup smooth creamy peanut butter
Step-by-Step
- Preheat convection oven to 350°F (175°C) and line heavy-gauge baking sheets with silicone mats or parchment paper.
- In a stand mixer fitted with a paddle attachment, cream the butter, granulated sugar, and brown sugar on medium-high speed for 3 minutes until aeration is achieved.
- Add eggs one at a time, beating well after each addition, then incorporate the vanilla extract.
- In a separate vessel, sift together the all-purpose flour, baking soda, and salt.
- Reduce mixer speed to low and gradually add the dry ingredients to the creamed mixture until just combined; do not overwork the gluten.
- Divide the base dough into two equal portions by weight.
- In the first portion, fold in the cocoa powder until the color is uniform.
- In the second portion, fold in the creamy peanut butter until fully integrated.
- Using a 1-tablespoon scoop, take a portion of each dough and press them together, rotating slightly to create a marbled swirl effect without fully blending the colors.
- Place the 2-ounce dough spheres on the prepared baking sheets, maintaining a 2-inch clearance between each unit.
- Bake for 10 to 12 minutes until the edges are set and the surface loses its raw sheen.
- Cool on the baking sheet for 5 minutes to allow the internal structure to set before transferring to a wire cooling rack.
Best Ways to Enjoy It
Serve these warm with a tall, cold glass of milk for the kids. They are perfect for a cozy night in by the fire tonight. Pack them in lunchboxes for a sweet surprise during the school day. You can also add them to a festive holiday cookie tray soon. They look beautiful and professional next to simple sugar cookies or brownies.
Your friends will definitely ask you for this recipe at the next gathering. Set a plate of these out and watch them disappear very fast. For a special treat, serve them with a scoop of vanilla ice cream. The warm chocolate and peanut butter melt perfectly with the cold cream. It is a simple way to make any night feel special.
Keep It Fresh
Store your cookies in an airtight container on your kitchen counter. They stay soft and delicious for up to five days quite easily. For longer storage, you can freeze the baked cookies for a month. Reheat for five seconds in the microwave to make them melty again. This makes them a great option for quick weekday desserts for everyone.
You can also freeze the raw dough balls for later use. Just bake them for an extra minute directly from the freezer. This is a great time-saving tip for busy parents during the week. You will always have a fresh treat ready for unexpected guests. Keep a stash in the freezer for those sudden chocolate cravings.
Pro Tips
- Don’t skip softening your butter to room temperature before you start.
- Avoid over-mixing the two dough colors together to keep the swirl.
- Use a cookie scoop for perfectly even sizes every single time.
- Prep the dough balls ahead of time for easy baking later on.
- Add a few chocolate chips for an extra decadent treat tonight.
- For the holidays, add a few festive sprinkles to the dough.
- Sprinkle a little sea salt on top before serving for flavor.
Ways to Switch It Up
- Use almond butter if you prefer a different nut flavor profile.
- Swap the cocoa for extra flour for a plain vanilla version.
- Use a gluten-free flour blend for a dietary-friendly option for guests.
- Add chopped peanuts for a bit of extra crunch in every bite.
- Switch the milk chocolate for dark chocolate for a richer taste.
Common Questions
Can I make the dough ahead of time?
Yes, you can chill the dough for 24 hours in the fridge. This actually helps the flavors develop much more deeply before baking. Just let it sit out for a few minutes before you swirl.
How do I get a perfect swirl?
Just press the two colors together very gently with your palms. Give them a quick little twist with your hands before placing them. Do not overwork them or the colors will blend too much.
Will my kids like these?
Most kids love the classic flavor combination of chocolate and peanut butter. They are sweet, salty, and very soft to bite into. They are always a hit in my house during the week.
I hope these cookies bring joy to your home this season. They are a staple in my kitchen during the cozy fall months. Give them a try and let me know how they turn out.
— Alex

Ingredients
- 1 cup unsalted butter, softened to 18°C
- 1 cup granulated white sugar
- 1 cup light brown sugar, firmly packed
- 2 large eggs , room temperature
- 1 teaspoon pure vanilla extract
- 2.5 cups all -purpose flour
- 1 teaspoon baking soda
- 0.5 teaspoon fine sea salt
- 0.5 cup unsweetened Dutch-process cocoa powder
- 0.5 cup smooth creamy peanut butter
Instructions
- Preheat convection oven to 350°F (175°C) and line heavy-gauge baking sheets with silicone mats or parchment paper.
- In a stand mixer fitted with a paddle attachment, cream the butter, granulated sugar, and brown sugar on medium-high speed for 3 minutes until aeration is achieved.
- Add eggs one at a time, beating well after each addition, then incorporate the vanilla extract.
- In a separate vessel, sift together the all-purpose flour, baking soda, and salt.
- Reduce mixer speed to low and gradually add the dry ingredients to the creamed mixture until just combined; do not overwork the gluten.
- Divide the base dough into two equal portions by weight.
- In the first portion, fold in the cocoa powder until the color is uniform.
- In the second portion, fold in the creamy peanut butter until fully integrated.
- Using a 1-tablespoon scoop, take a portion of each dough and press them together, rotating slightly to create a marbled swirl effect without fully blending the colors.
- Place the 2-ounce dough spheres on the prepared baking sheets, maintaining a 2-inch clearance between each unit.
- Bake for 10 to 12 minutes until the edges are set and the surface loses its raw sheen.
- Cool on the baking sheet for 5 minutes to allow the internal structure to set before transferring to a wire cooling rack.