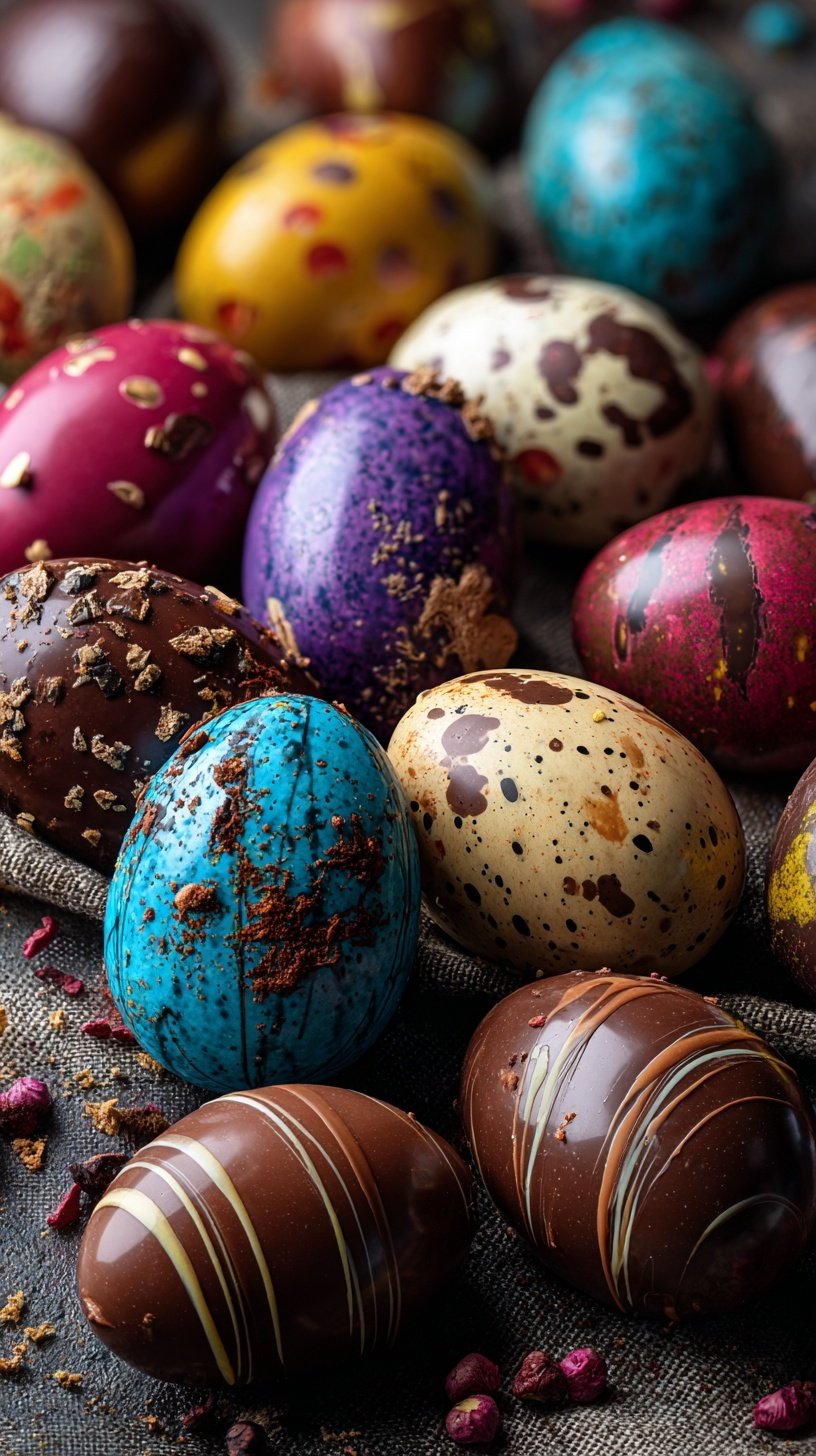
Easter morning is almost here and the kids are waiting for treats. Making your own tempered Easter chocolate eggs is simpler than you think. You do not need a professional kitchen to get that beautiful shine. Your family will love finding these handcrafted treasures in their baskets this year.
Why You’ll Love These Tempered Easter Chocolate Eggs
These eggs have that satisfying, crisp snap when you take a bite. They look exactly like the expensive ones from a fancy chocolate shop. This recipe is a wonderful way to start a new spring tradition together. You can even hide small candies inside for a fun surprise. It is a budget-friendly way to make high-end holiday gifts.
Simple Cooking Steps
We are using the seeding method to make tempering very easy for you. You simply melt most of the chocolate and stir in the rest. This helps the chocolate cool down and set with a perfectly glossy finish. Even if you are a beginner, you can master this with a thermometer. Just take your time and watch the temperature closely.
Ingredients You’ll Need
You only need a few quality items for these professional results. High-quality chocolate makes a big difference in the final taste.
- 500g dark couverture chocolate (minimum 60% cocoa solids)
- 50g white chocolate for decorative piping
- 10g cocoa butter (optional for fluidity)
Step-by-Step Instructions
- Finely chop the dark couverture chocolate and set aside 150g to use as a seed.
- Melt the remaining 350g of chocolate in a double boiler over simmering water until it reaches exactly 45-50°C (113-122°F).
- Remove the chocolate from the heat and gradually stir in the reserved 150g of seed chocolate to initiate crystallization.
- Continue stirring until the temperature drops to 27°C (81°F) for dark chocolate.
- Briefly return the bowl to the heat for 5-10 seconds at a time until the working temperature of 31-32°C (88-90°F) is achieved.
- Polish the interior of polycarbonate egg molds with a clean cotton ball to ensure a high-gloss finish and easy release.
- Fill the molds completely with tempered chocolate, tap firmly on the counter to remove air bubbles, then invert over a bowl to pour out excess, leaving a 2-3mm shell.
- Scrape the mold surface clean with a bench scraper and refrigerate for 20 minutes until the chocolate has contracted and released from the mold.
- Gently unmold the shells and join two halves by briefly pressing the rims against a warmed baking sheet before pressing them together to fuse.
- Pipe melted white chocolate patterns onto the exterior for traditional Easter decoration.
Best Ways to Enjoy It
Place these eggs on a bed of colorful paper grass for a beautiful centerpiece. They look lovely on your Easter brunch table next to fresh flowers. You can wrap them in bright foil for a backyard egg hunt. Serve them with fresh strawberries for a light and delicious spring dessert. Your guests will be so impressed by your handcrafted treats.
Keep It Fresh
Store your finished eggs in a cool, dry place for two weeks. Avoid the refrigerator once they are out of the molds. This prevents the chocolate from losing its shine or becoming sticky. A dark pantry shelf is the best storage spot for these. If your kitchen is very warm, keep them in an airtight container. They are great for making a few days before the holiday.
Tips for Best Results
- Don’t skip polishing the molds with a cotton ball for maximum shine.
- Avoid getting even a single drop of water in your melting chocolate.
- Use a digital thermometer to track the temperatures very accurately.
- Make the shells a day early to save time on Easter morning.
- For Easter gifts, wrap each egg in clear cellophane with a ribbon.
- Tap the molds firmly to ensure there are no tiny air bubbles.
- Keep your hands cool when handling the finished shells to avoid fingerprints.
Ways to Switch It Up
- Swap dark chocolate for milk chocolate if your kids prefer a sweeter taste.
- Use a dairy-free dark chocolate to make these vegan-friendly for guests.
- Add a tiny pinch of sea salt to the dark chocolate for depth.
Common Questions
Can I make these ahead of time?
Yes, you can make these up to two weeks in advance. Just keep them in a cool spot away from direct sunlight. This makes your holiday prep much easier and stress-free.
What if the chocolate doesn’t release from the mold?
This usually means the chocolate was not tempered quite right or needs more time. Try putting the mold back in the fridge for five more minutes. If it still sticks, the tempered Easter chocolate eggs might need a temperature adjustment next time.
I hope these glossy eggs bring a little extra joy to your spring celebrations. It is so rewarding to see your family enjoy something you made by hand. Happy Easter and happy cooking!
— Alex

Ingredients
- 500 g dark couverture chocolate (minimum 60% cocoa solids)
- 50 g white chocolate for decorative piping
- 10 g cocoa butter (optional for fluidity)
Instructions
- Finely chop the dark couverture chocolate and set aside 150g to use as a seed.
- Melt the remaining 350g of chocolate in a double boiler over simmering water until it reaches exactly 45-50°C (113-122°F).
- Remove the chocolate from the heat and gradually stir in the reserved 150g of seed chocolate to initiate crystallization.
- Continue stirring until the temperature drops to 27°C (81°F) for dark chocolate.
- Briefly return the bowl to the heat for 5-10 seconds at a time until the working temperature of 31-32°C (88-90°F) is achieved.
- Polish the interior of polycarbonate egg molds with a clean cotton ball to ensure a high-gloss finish and easy release.
- Fill the molds completely with tempered chocolate, tap firmly on the counter to remove air bubbles, then invert over a bowl to pour out excess, leaving a 2-3mm shell.
- Scrape the mold surface clean with a bench scraper and refrigerate for 20 minutes until the chocolate has contracted and released from the mold.
- Gently unmold the shells and join two halves by briefly pressing the rims against a warmed baking sheet before pressing them together to fuse.
- Pipe melted white chocolate patterns onto the exterior for traditional Easter decoration.