Sometimes you just need something sweet without the sugar crash. These Mini Protein Cheesecakes are the perfect answer for your cravings. They are creamy, satisfying, and actually fuel your body. You get all the dessert flavor with none of the guilt.
This recipe is a lifesaver when you are busy. It uses simple ingredients you likely have in your pantry. You can whip up a batch in just 35 minutes. They are the ultimate guilt-free treat for any time of day.
Why You’ll Love This Recipe
These little treats are perfect for your healthy reset goals. Each cheesecake is packed with protein to keep you full longer. The protein bar crust adds a satisfying, chewy texture. It is a clever shortcut that saves you time and effort.
You will love how easy these are to portion out. They are great for meal prep throughout the week. Just grab one from the fridge when hunger strikes. Your whole family will enjoy these creamy, bite-sized delights.
Simple Method
Making these is much easier than a traditional cheesecake. There is no need for a complicated water bath here. You simply mix the filling and press the crust. Even if you are a beginner cook, you can do this. The microwave helps soften the crust for easy pressing.
Simple Ingredients
These ingredients are mostly pantry staples for fitness lovers. Using Greek yogurt keeps things light and tangy.
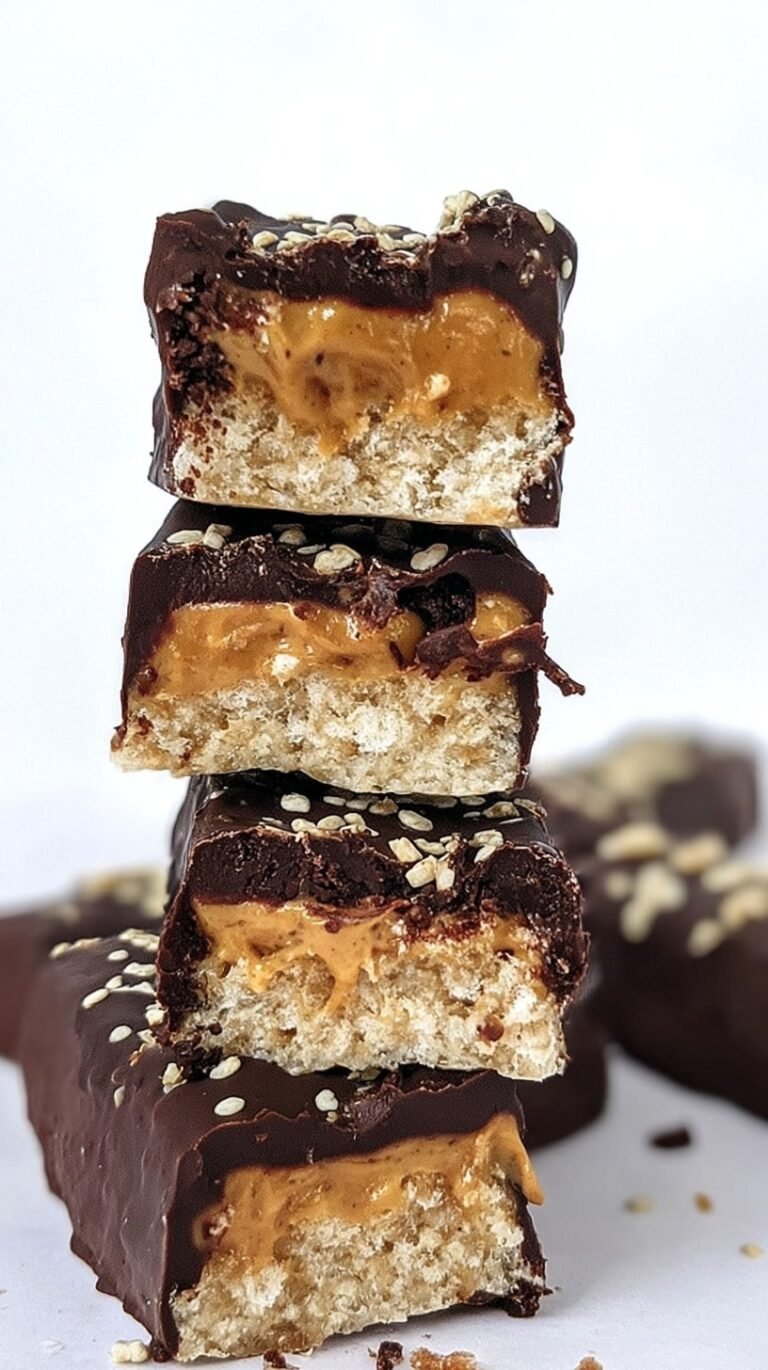
- 2 sugar-free protein bars (60g each), finely chopped
- 15ml unsweetened almond milk
- 225g low-fat cream cheese, softened
- 150g non-fat Greek yogurt
- 30g whey protein isolate, vanilla flavor
- 1 large egg
- 10g granulated erythritol
- 5ml vanilla extract
Step-by-Step
- Preheat oven to 160°C (320°F) and line a muffin tin with 6 silicone liners.
- Heat protein bars in a microwave for 15 seconds to soften, then incorporate almond milk to form a pliable dough.
- Distribute the protein bar mixture into the bottom of the liners and press firmly to create an even crust layer.
- In a mixing bowl, combine cream cheese, Greek yogurt, protein powder, erythritol, and vanilla extract; whisk until homogeneous.
- Add the egg to the mixture and stir gently until just incorporated, avoiding the introduction of excess air.
- Divide the cheesecake batter equally among the 6 liners, smoothing the tops.
- Bake for 18 to 22 minutes until the edges are set but the center retains a slight jiggle.
- Remove from oven and allow to cool to room temperature before refrigerating for at least 3 hours to achieve final texture.
Best Ways to Enjoy It
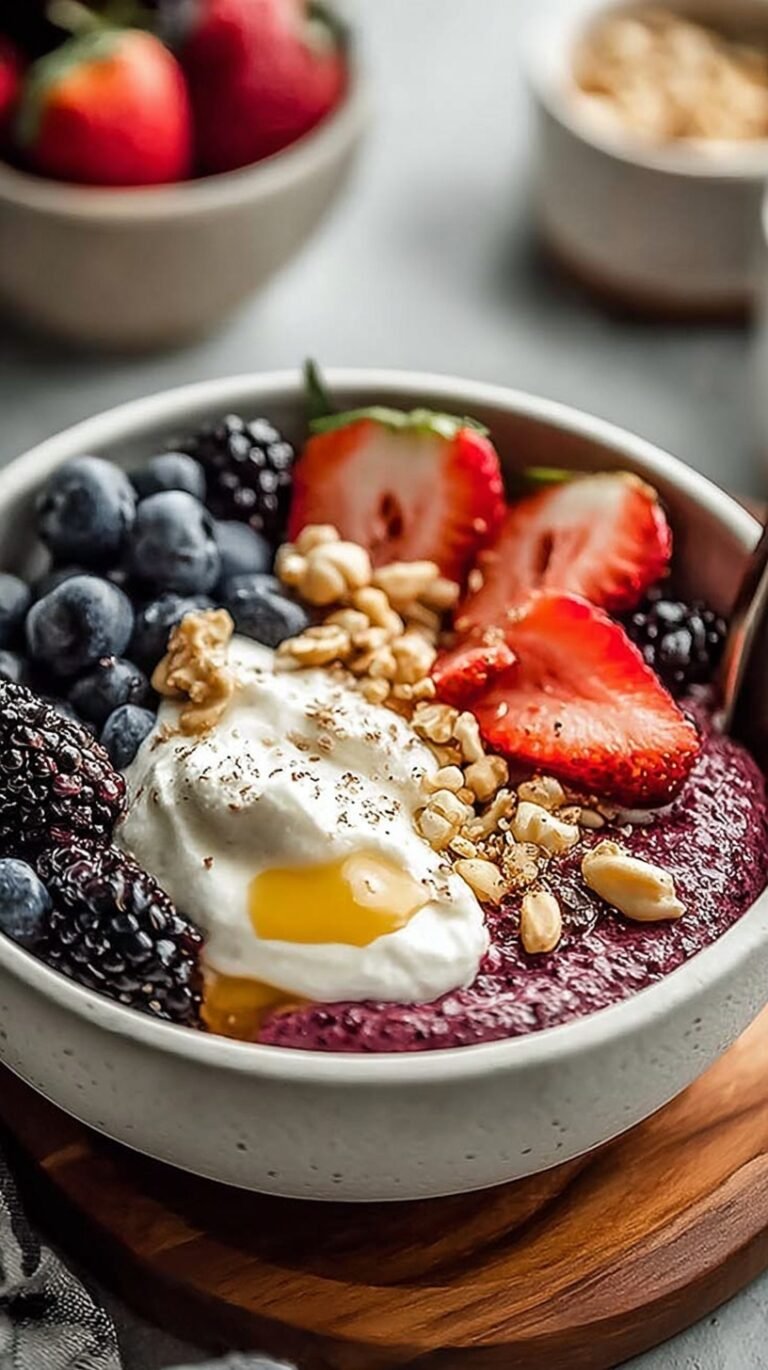
Serve these Mini Protein Cheesecakes chilled for the best texture. You can top them with a few fresh berries. A tiny dollop of Greek yogurt on top looks beautiful. They are perfect for a quick afternoon snack or a light dessert. Pack them into containers for easy weekday lunches.
Keep It Fresh
Store your leftovers in an airtight container in the fridge. They will stay fresh for up to 4 days. You can also freeze these for a long-term snack option. Wrap them individually before freezing for up to one month. Thaw them in the fridge overnight before you want to eat.
Recipe Tips
- Don’t skip the chilling time because it sets the final texture.
- Avoid overmixing the egg to prevent cracks on the top.
- Use silicone liners for the easiest removal without any sticking.
- Soften your cream cheese fully to ensure a smooth, creamy filling.
- Add a sprinkle of cinnamon to the crust for a cozy fall flavor.
- Check the jiggle in the center to know they are done.
Ways to Switch It Up
- Swap vanilla protein for chocolate protein for a richer flavor.
- Use a cookies-and-cream protein bar for a fun crust variation.
- Replace almond milk with coconut milk for a dairy-free crust touch.
- Add a few sugar-free chocolate chips to the batter before baking.
Quick Answers
Can I make these ahead of time?
Yes, these are actually better when made a day early. The flavors meld and the texture becomes perfectly dense. Just keep them covered in the refrigerator until serving.
Will my kids eat these?
Absolutely, they taste just like a regular cheesecake treat. Kids love the individual sizes and the chewy crust. It is a great way to give them a healthier dessert option.
How do I know when they are done?
The edges should look firm and slightly matte. The very center should still have a slight jiggle. It will firm up completely as it cools in the fridge.
I hope these creamy treats help you reach your goals while satisfying your sweet tooth. They are so simple to make and even better to eat. Happy baking!
— Alex

Ingredients
- 2 sugar -free protein bars (60g each), finely chopped
- 15 ml unsweetened almond milk
- 225 g low -fat cream cheese, softened
- 150 g non -fat Greek yogurt
- 30 g whey protein isolate, vanilla flavor
- 1 large eg g
- 10 g granulated erythritol
- 5 ml vanilla extract
Instructions
- Preheat oven to 160°C (320°F) and line a muffin tin with 6 silicone liners.
- Heat protein bars in a microwave for 15 seconds to soften, then incorporate almond milk to form a pliable dough.
- Distribute the protein bar mixture into the bottom of the liners and press firmly to create an even crust layer.
- In a mixing bowl, combine cream cheese, Greek yogurt, protein powder, erythritol, and vanilla extract; whisk until homogeneous.
- Add the egg to the mixture and stir gently until just incorporated, avoiding the introduction of excess air.
- Divide the cheesecake batter equally among the 6 liners, smoothing the tops.
- Bake for 18 to 22 minutes until the edges are set but the center retains a slight jiggle.
- Remove from oven and allow to cool to room temperature before refrigerating for at least 3 hours to achieve final texture.