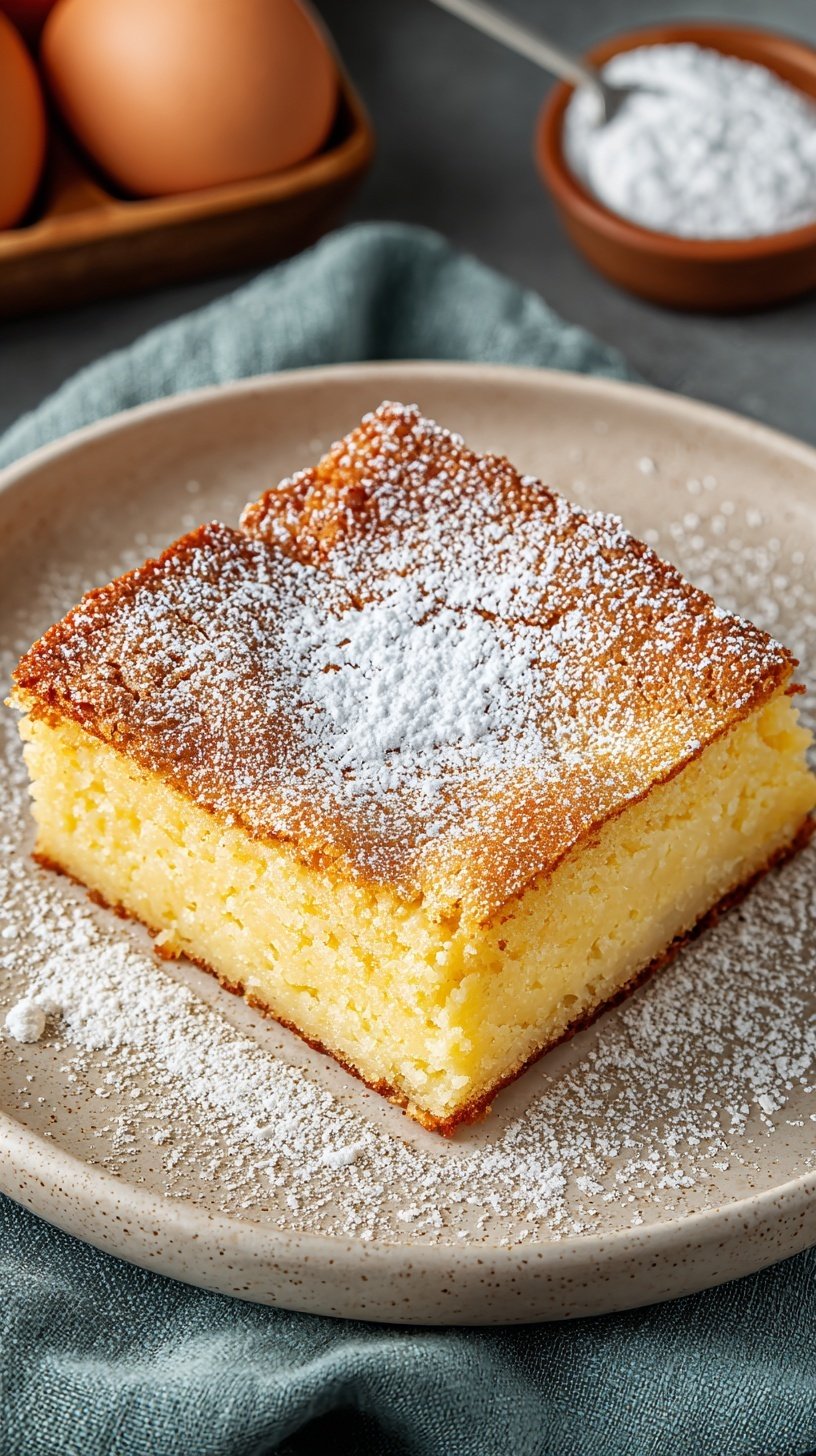
Sometimes you just need something warm and sugary to end the day. This ooey gooey butter cake is the ultimate answer to those cravings. It combines a buttery crust with a velvety cream cheese topping. Your family will think you spent hours in the kitchen.
This recipe is perfect for those cold winter nights. It uses simple ingredients you likely already have. You can have this ooey gooey butter cake ready for the oven in minutes. Let’s bring some sweetness to your home today.
Why This Recipe Is a Winner
This dessert is a total crowd-pleaser for holiday gatherings. It feeds a large group with very little effort. The texture is rich and velvety in every single bite. It is the best kind of comfort food for chilly months. You will love how the bottom stays dense and buttery. It is a classic for a reason.
Simple Cooking Steps
Making this cake is incredibly easy and stress-free. You start with a basic box of yellow cake mix. This acts as your sturdy base layer for the gooey topping. Then you whip together the cream cheese and sugar. Even if you are a beginner, you can do this. It is a foolproof way to bake something delicious.
Ingredients You’ll Need
Most of these items are pantry staples you already own.
- 1 package (18.25 oz) yellow cake mix
- 1/2 cup unsalted butter, melted
- 1 large egg
- 8 oz cream cheese, softened
- 2 large eggs
- 1 tsp vanilla extract
- 1/2 cup unsalted butter, melted
- 4 cups powdered sugar
Step-by-Step Directions
- Preheat the oven to 350°F (175°C) and grease a 9×13 inch baking pan.
- In a medium bowl, combine the yellow cake mix, 1/2 cup melted butter, and 1 egg. Mix until a thick dough forms.
- Press the dough mixture firmly and evenly into the bottom of the prepared 9×13 inch pan to form the crust.
- In a large bowl, beat the softened cream cheese until smooth and creamy using an electric mixer.
- Add the 2 eggs and vanilla extract to the cream cheese and beat until well combined.
- Add the second 1/2 cup of melted butter and continue to beat until smooth.
- Gradually add the powdered sugar on low speed, then increase to medium and beat until the filling is light and fluffy.
- Spread the cream cheese filling evenly over the top of the cake dough in the pan.
- Bake for 35 to 45 minutes until the edges are golden brown and the center remains slightly jiggly.
- Remove from the oven and allow the cake to cool completely in the pan to set before slicing into squares.
Best Ways to Enjoy It
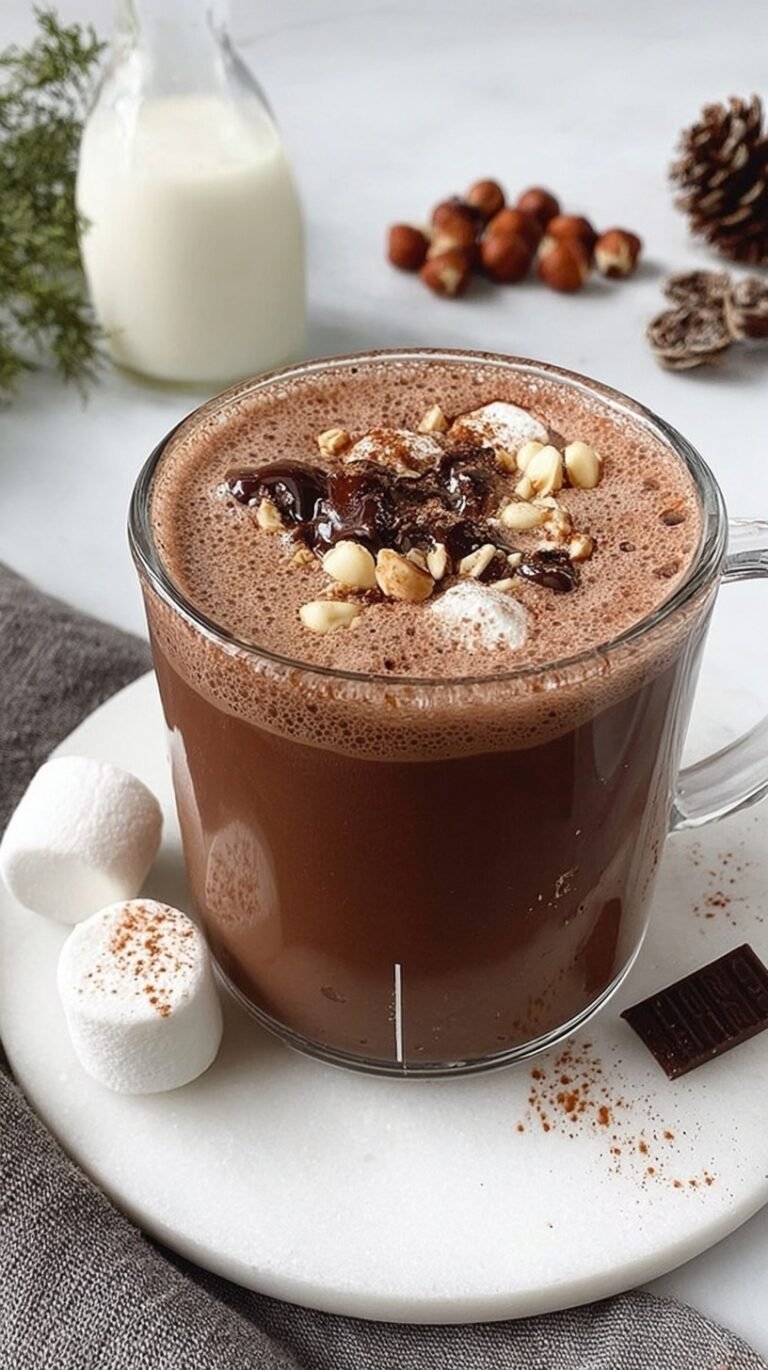
Slice the cake into small, decadent squares. These are very rich and satisfying on their own. Serve them at room temperature for the best texture. They look beautiful on a holiday dessert table. Pair a warm square with a cup of hot cocoa. It is the perfect way to cozy up.
Storage & Reheating
Store any leftovers in the refrigerator for up to five days. Use an airtight container to keep the edges soft. You can also freeze individual squares for a quick treat later. Thaw them in the fridge overnight before serving. Reheat in a 300°F oven for five minutes if desired. Most people enjoy them cold or at room temperature.
Tips for Best Results
- Use room temperature cream cheese for a smooth, lump-free filling.
- Don’t overbake the cake or it will lose its signature gooeyness.
- Press the crust firmly into the corners of your baking pan.
- Sift your powdered sugar to ensure the filling stays perfectly light.
- Wait for the cake to cool completely before you try slicing.
- For Christmas, add a dusting of extra sugar for a snowy look.
- Use a plastic knife to get clean cuts through the soft center.
Ways to Switch It Up
- Add a teaspoon of almond extract for a subtle nutty flavor.
- Swap the yellow mix for chocolate to make a fudge version.
- Use a gluten-free cake mix to accommodate dietary needs easily.
- Stir in some fresh lemon zest for a bright spring twist.
Common Questions
Can I make this cake ahead of time?
Yes, this cake actually tastes better the next day. The flavors have more time to meld together perfectly. It is a great make-ahead dessert for busy parties.
How do I know when it is done baking?
The edges should be golden brown and look set. The center should still have a slight jiggle when moved. It will firm up as it cools on the counter.
Will my kids enjoy this dessert?
Absolutely, kids love the soft texture and sweet flavor. It is a very kid-approved treat for any occasion. They might even want to help you mix the dough.
I hope this cozy recipe brings a little extra warmth to your winter. Give it a try and watch how fast it disappears from the pan. Happy baking!
— Alex

Ingredients
- 1 package (18.25 oz) yellow cake mix
- 1/2 cup unsalted butter, melted
- 1 large eg g
- 8 oz cream cheese, softened
- 2 large egg s
- 1 tsp vanilla extract
- 1/2 cup unsalted butter, melted
- 4 cups powdered sugar
Instructions
- Preheat the oven to 350°F (175°C) and grease a 9x13 inch baking pan.
- In a medium bowl, combine the yellow cake mix, 1/2 cup melted butter, and 1 egg. Mix until a thick dough forms.
- Press the dough mixture firmly and evenly into the bottom of the prepared 9x13 inch pan to form the crust.
- In a large bowl, beat the softened cream cheese until smooth and creamy using an electric mixer.
- Add the 2 eggs and vanilla extract to the cream cheese and beat until well combined.
- Add the second 1/2 cup of melted butter and continue to beat until smooth.
- Gradually add the powdered sugar on low speed, then increase to medium and beat until the filling is light and fluffy.
- Spread the cream cheese filling evenly over the top of the cake dough in the pan.
- Bake for 35 to 45 minutes until the edges are golden brown and the center remains slightly jiggly.
- Remove from the oven and allow the cake to cool completely in the pan to set before slicing into squares.