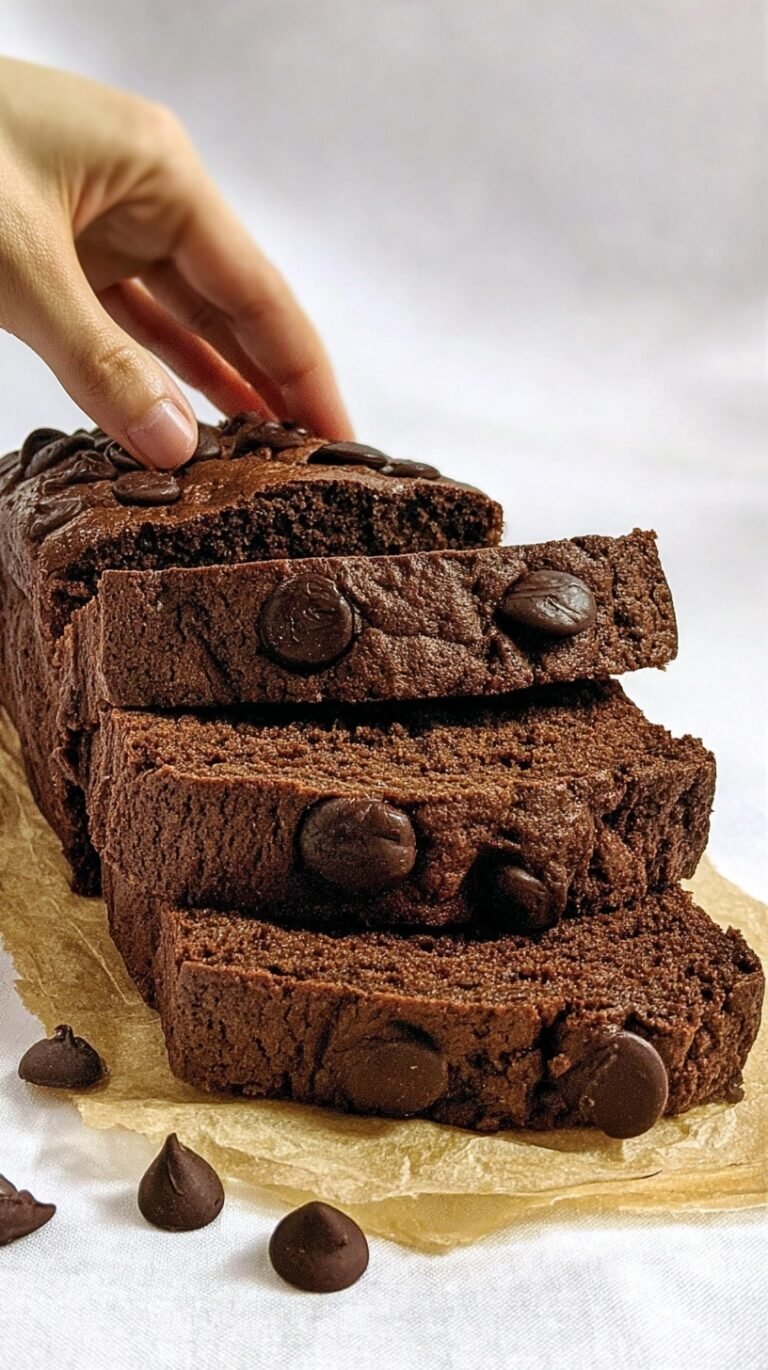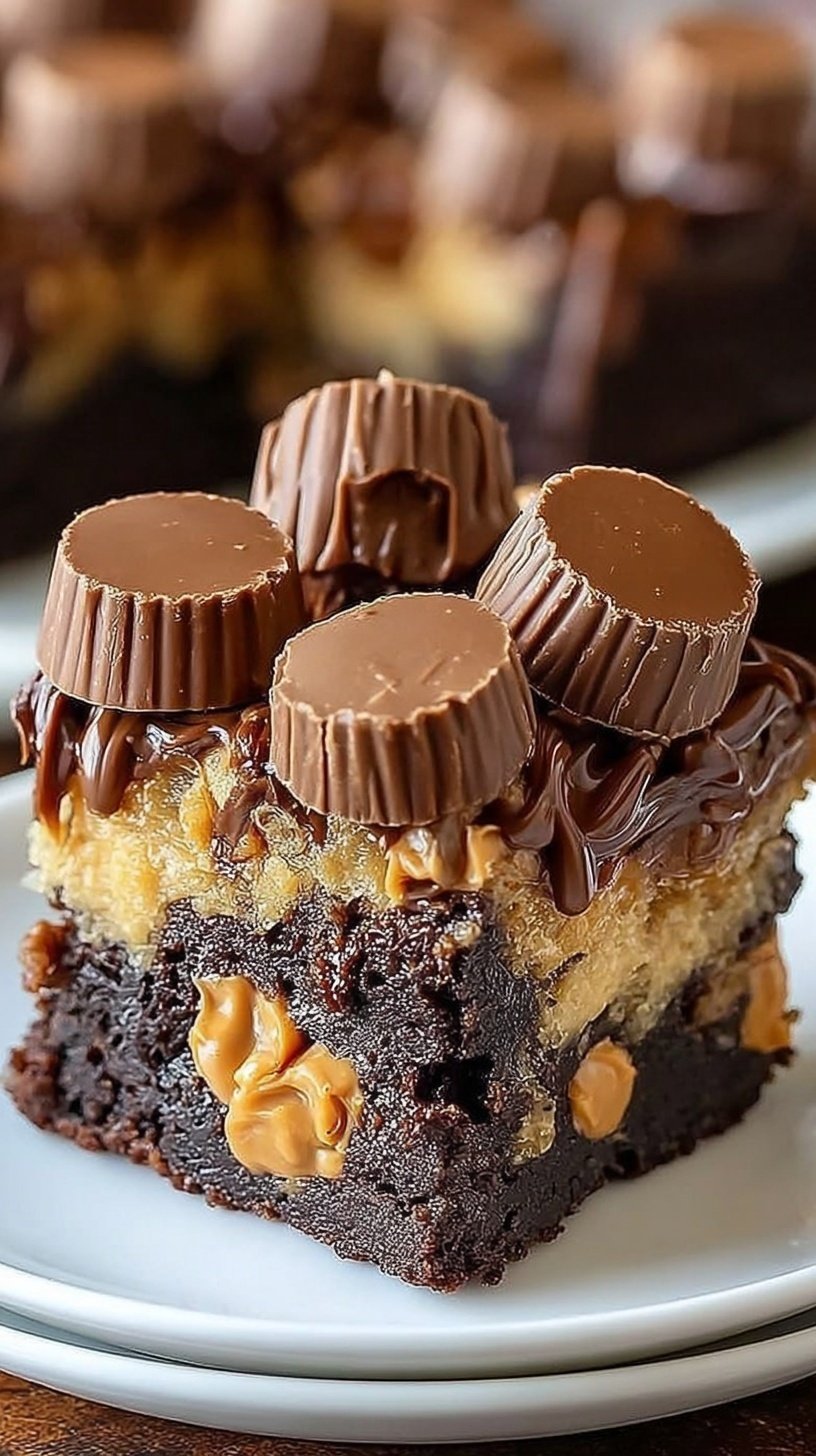
Sometimes you just need something warm and gooey. This Reese’s Earthquake Cake is the answer to every chocolate craving. It is rich, decadent, and incredibly simple to make.
Your family will love the soft peanut butter pockets. It is the perfect comfort food for a cozy night. You can have this in the oven in minutes. Let’s get baking!
Why This Recipe Is a Winner
This recipe is a total crowd-pleaser for fall gatherings. You don’t even need to make frosting. The filling creates its own delicious, gooey topping as it bakes. It is budget-friendly and uses simple pantry staples.
The combination of chocolate and peanut butter is classic. Every bite is filled with melted candy pieces. It is a great way to feed a large group easily. Your friends will definitely ask for this recipe.
Easy Cooking Steps
Making this Reese’s Earthquake Cake is very straightforward. You start with a standard box of chocolate cake mix. Then you prepare a creamy peanut butter mixture to swirl inside. Even if you are new to baking, you can do this. The “messy” look is part of the charm!
Simple Ingredients
Most of these items are pantry staples you already have. Grab some extra peanut butter cups from the baking aisle.
- 1 box (15.25 oz) chocolate cake mix plus required water, oil, and eggs
- 8 oz cream cheese, softened
- 1/2 cup creamy peanut butter
- 1/2 cup unsalted butter, melted
- 2 cups powdered sugar
- 1 cup Reese’s Peanut Butter Cups, chopped
- 1/2 cup semi-sweet chocolate chips
- 1/2 cup peanut butter chips
Step-by-Step
- Preheat oven to 350°F (175°C) and grease a 9×13 inch baking pan.
- Prepare the chocolate cake mix according to the package instructions and pour the batter into the prepared pan.
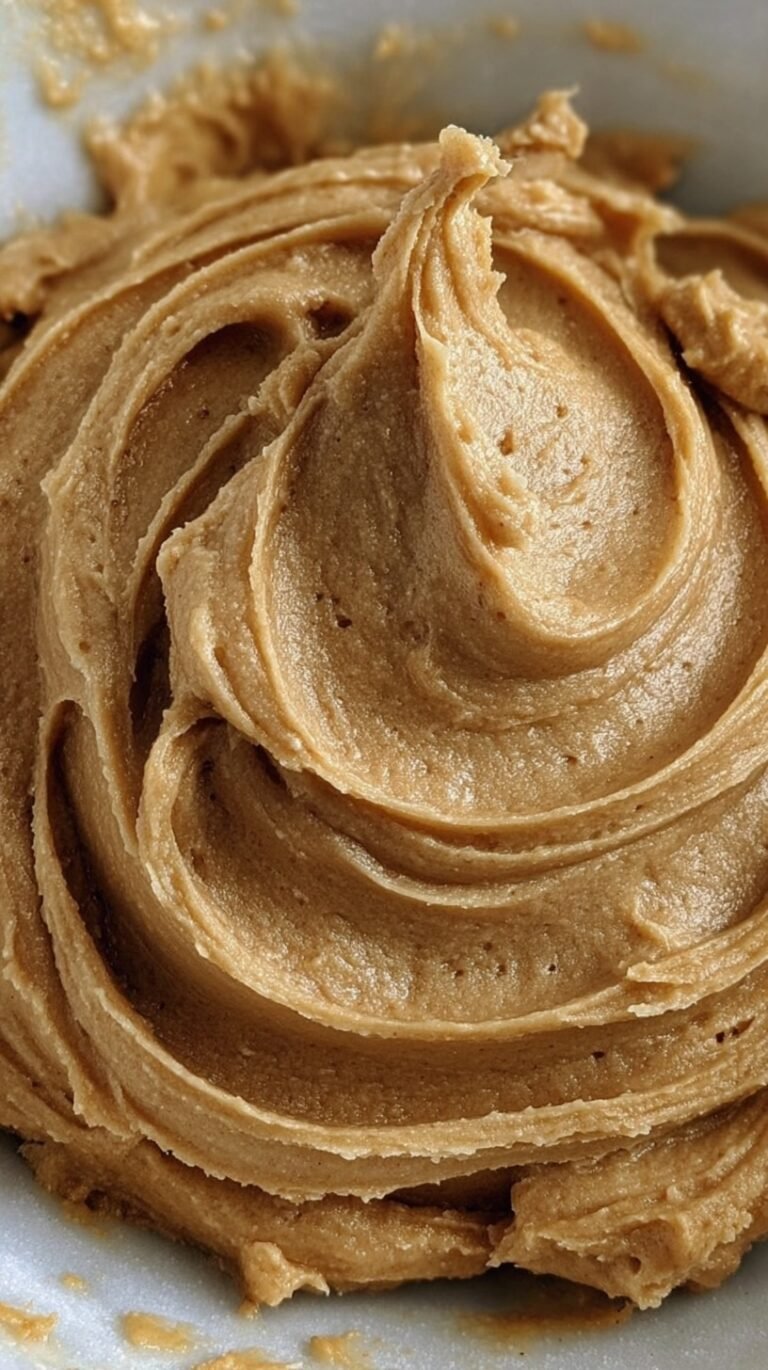
- In a medium bowl, beat the softened cream cheese and creamy peanut butter together until smooth.
- Add the melted butter and powdered sugar to the cream cheese mixture, beating until well combined.
- Drop dollops of the peanut butter cream cheese mixture over the surface of the raw cake batter.
- Sprinkle chopped Reese’s Peanut Butter Cups, chocolate chips, and peanut butter chips evenly over the top.
- Use a knife to gently swirl the toppings and cream cheese mixture into the cake batter.
- Bake for 40 to 45 minutes until the cake is set but the cream cheese pockets remain soft.
- Remove from oven and let cool slightly before serving directly from the pan.
Best Ways to Enjoy It
Serve this cake warm from the pan for the best texture. The cream cheese pockets stay soft and delicious. Add a big scoop of vanilla ice cream on top. It makes the perfect weekend treat for the kids.
You can also serve it with a cold glass of milk. It is great for potlucks and parties. Just bring the whole pan and a serving spoon. Everyone will dive right into the gooey center.
How to Store Leftovers
Store any leftovers in the refrigerator to keep them fresh. The cream cheese filling needs to stay chilled. It will last for up to four days. You can reheat individual slices in the microwave. Heat for about 15 seconds to make it gooey again. It still tastes amazing the next day!
Pro Tips
- Don’t skip softening the cream cheese for a smooth filling.
- Avoid over-swirling the batter or the layers will disappear.
- Use a dark chocolate cake mix for a richer flavor.
- Chop the peanut butter cups into different sizes for texture.
- For Thanksgiving, add a pinch of cinnamon to the batter.
- Tap the pan on the counter to remove large air bubbles.
- Check the cake at 40 minutes to avoid dry edges.
Ways to Switch It Up
- Use a gluten-free cake mix to make this gluten-friendly.
- Swap the peanut butter chips for white chocolate chips instead.
- Add 1/2 cup of chopped walnuts for an extra crunch.
- Try a yellow cake mix for a different flavor profile.
Quick Answers
Why is it called an earthquake cake?
The cake cracks and shifts as it bakes in the oven. This creates deep craters that look like an earthquake happened. These holes are filled with gooey peanut butter goodness.
Can I make this ahead of time?
Yes, you can bake it a day early and store it. Just be sure to keep it in the fridge. Warm it up slightly before serving for that fresh-baked feel.
Will kids eat this?
Absolutely, it is very kid-approved and fun to look at. They will love the hidden candy pieces inside. It is always a hit at school events.
I hope this gooey Reese’s Earthquake Cake brings a little joy to your kitchen. It is the perfect way to satisfy a sweet tooth on a chilly fall evening. Happy baking!
— Alex

Ingredients
- 1 box (15.25 oz) chocolate cake mix plus required water, oil, and eggs
- 8 oz cream cheese, softened
- 1/2 cup creamy peanut butter
- 1/2 cup unsalted butter, melted
- 2 cups powdered sugar
- 1 cup Reese 's Peanut Butter Cups, chopped
- 1/2 cup semi -sweet chocolate chips
- 1/2 cup peanut butter chips
Instructions
- Preheat oven to 350°F (175°C) and grease a 9x13 inch baking pan.
- Prepare the chocolate cake mix according to the package instructions and pour the batter into the prepared pan.
- In a medium bowl, beat the softened cream cheese and creamy peanut butter together until smooth.
- Add the melted butter and powdered sugar to the cream cheese mixture, beating until well combined.
- Drop dollops of the peanut butter cream cheese mixture over the surface of the raw cake batter.
- Sprinkle chopped Reese's Peanut Butter Cups, chocolate chips, and peanut butter chips evenly over the top.
- Use a knife to gently swirl the toppings and cream cheese mixture into the cake batter.
- Bake for 40 to 45 minutes until the cake is set but the cream cheese pockets remain soft.
- Remove from oven and let cool slightly before serving directly from the pan.